Valentines Day is just around the corner and this DIY tissue paper roses are a super cute way to give your loved one a handmade gift to show them that you care. It would even be a really sweet gift for your child’s teacher and what better way than by something they made themselves. Valentines day has turned into a big money spender and it really doesn’t need to be! I would much rather have something that someone took the time to make than a big box of overpriced candy that you can grab from the clearance isle at 75% off the day after. I hope you enjoy the tutorial. 🙂
TISSUE PAPER ROSES
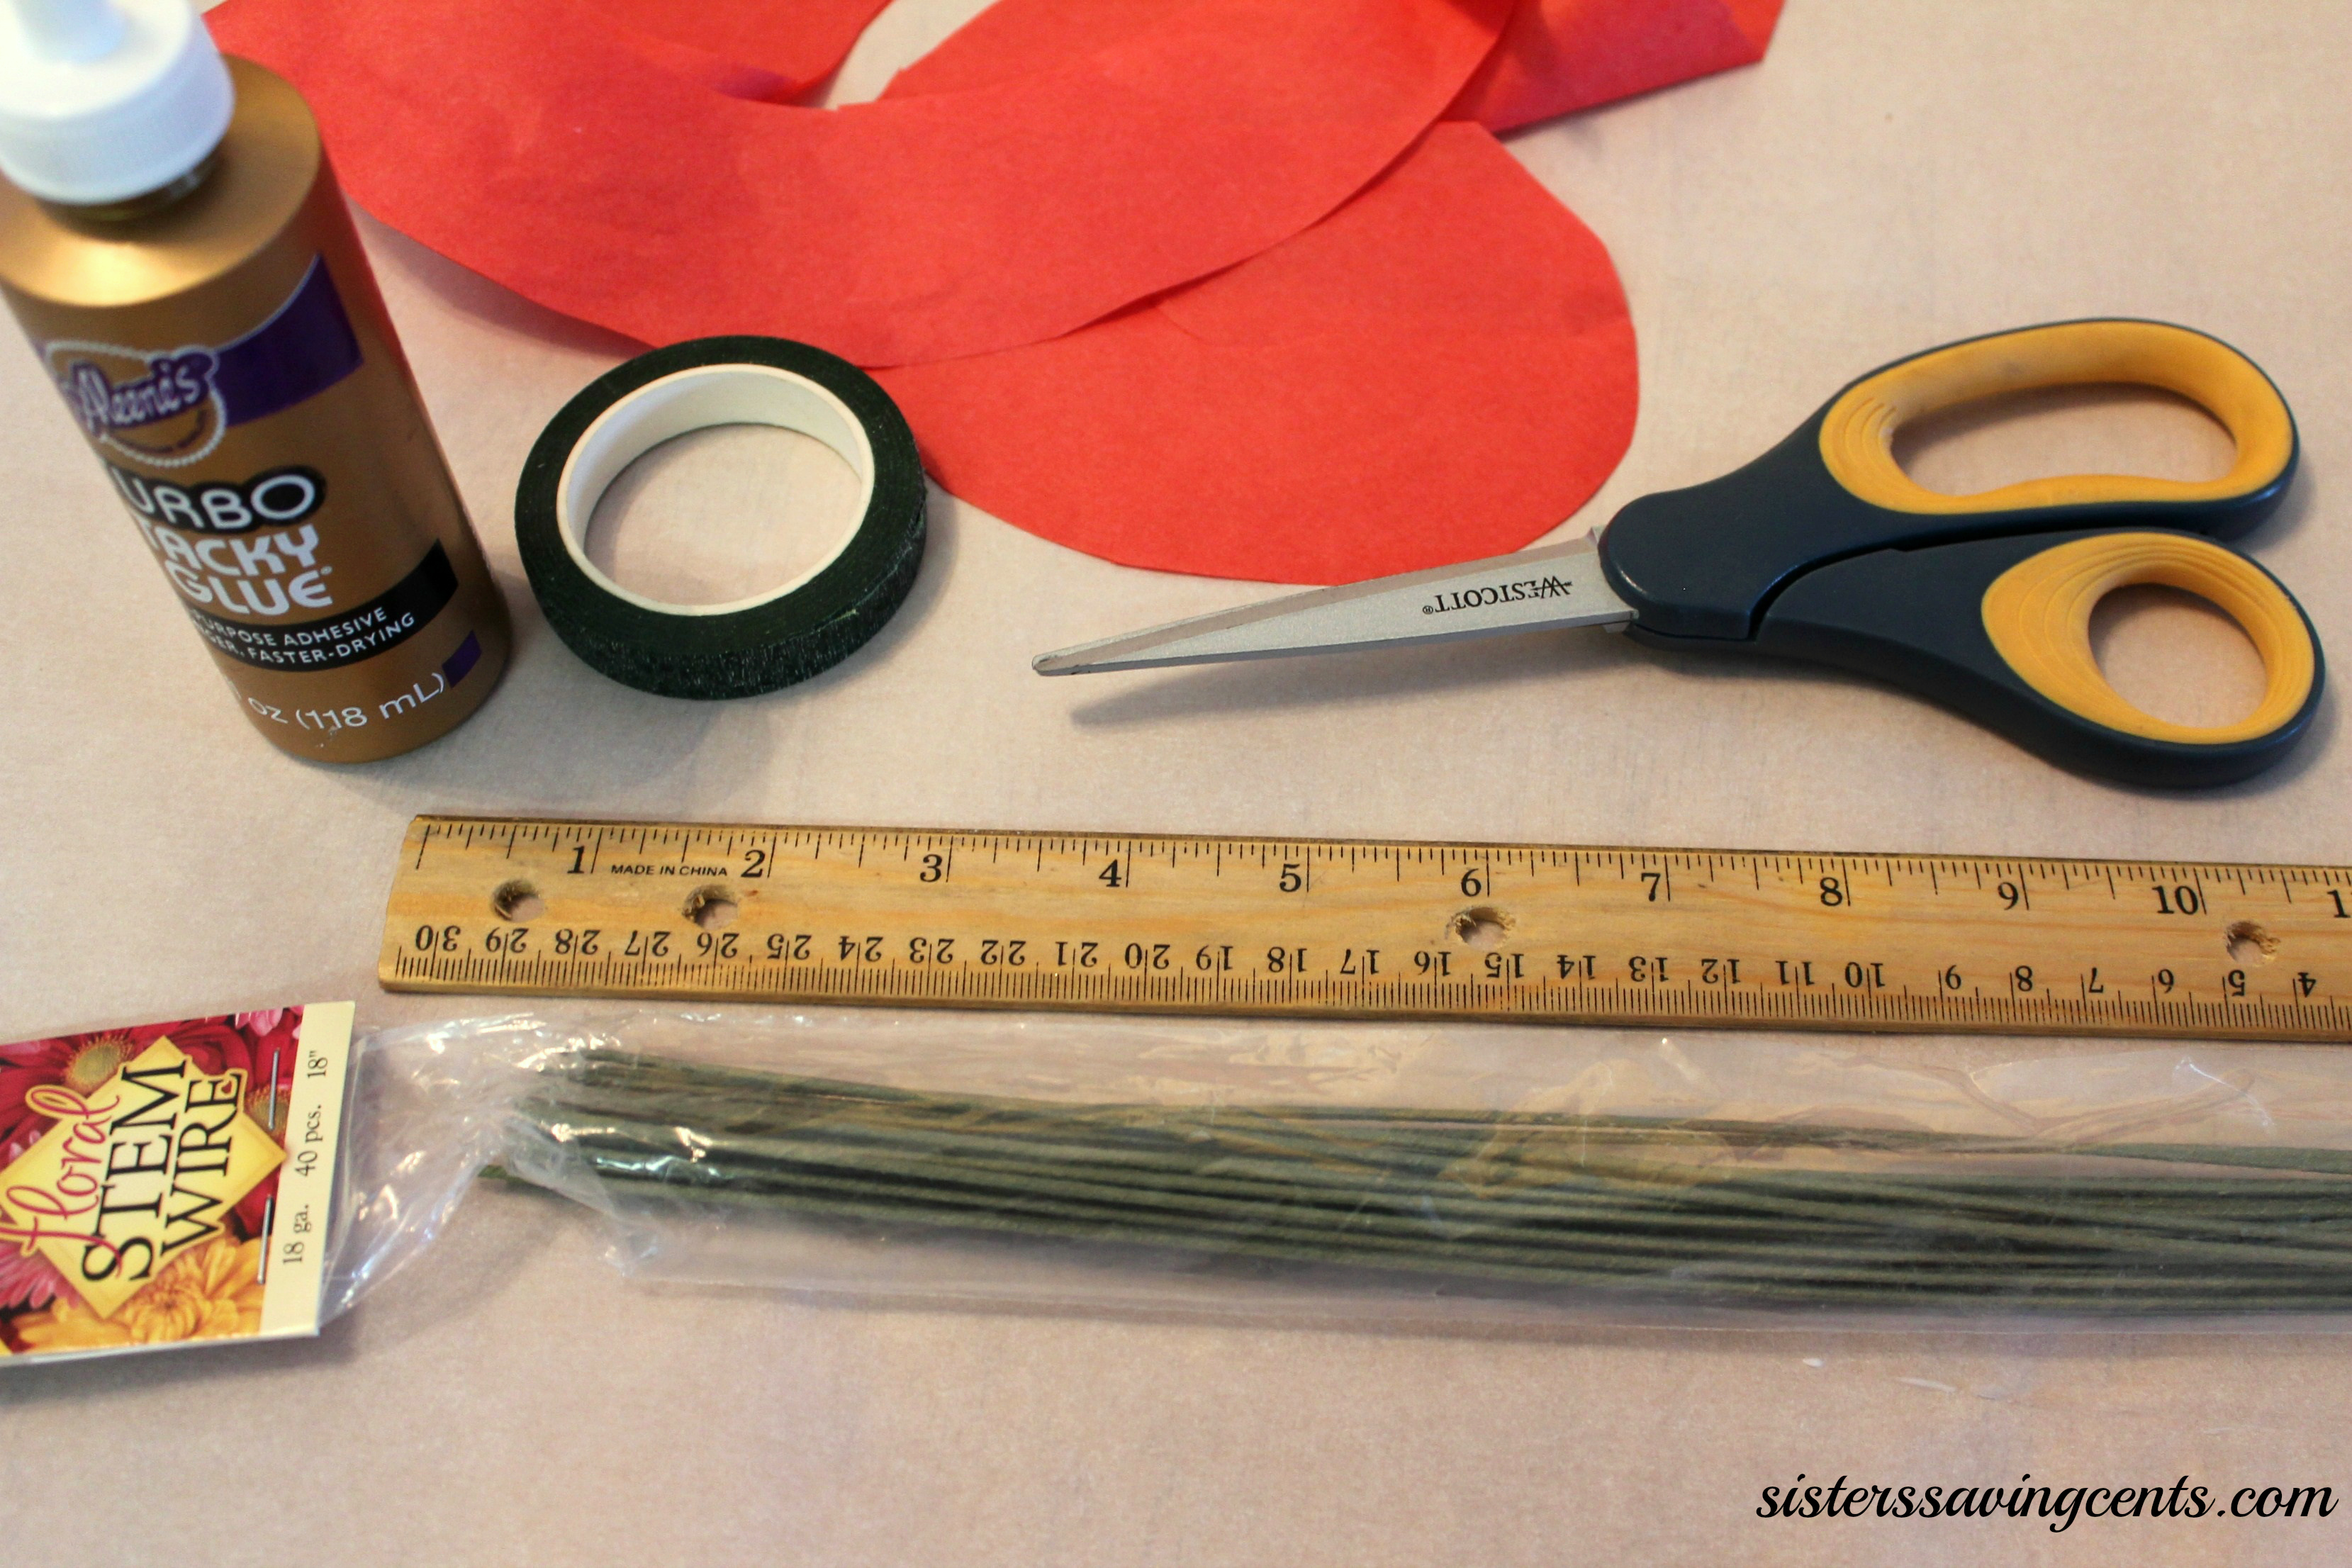
Supplies:
- Scissors
- Ruler
- Craft glue
- Pink or red tissue paper
- Floral stem wire, cloth covered
- Floral tape
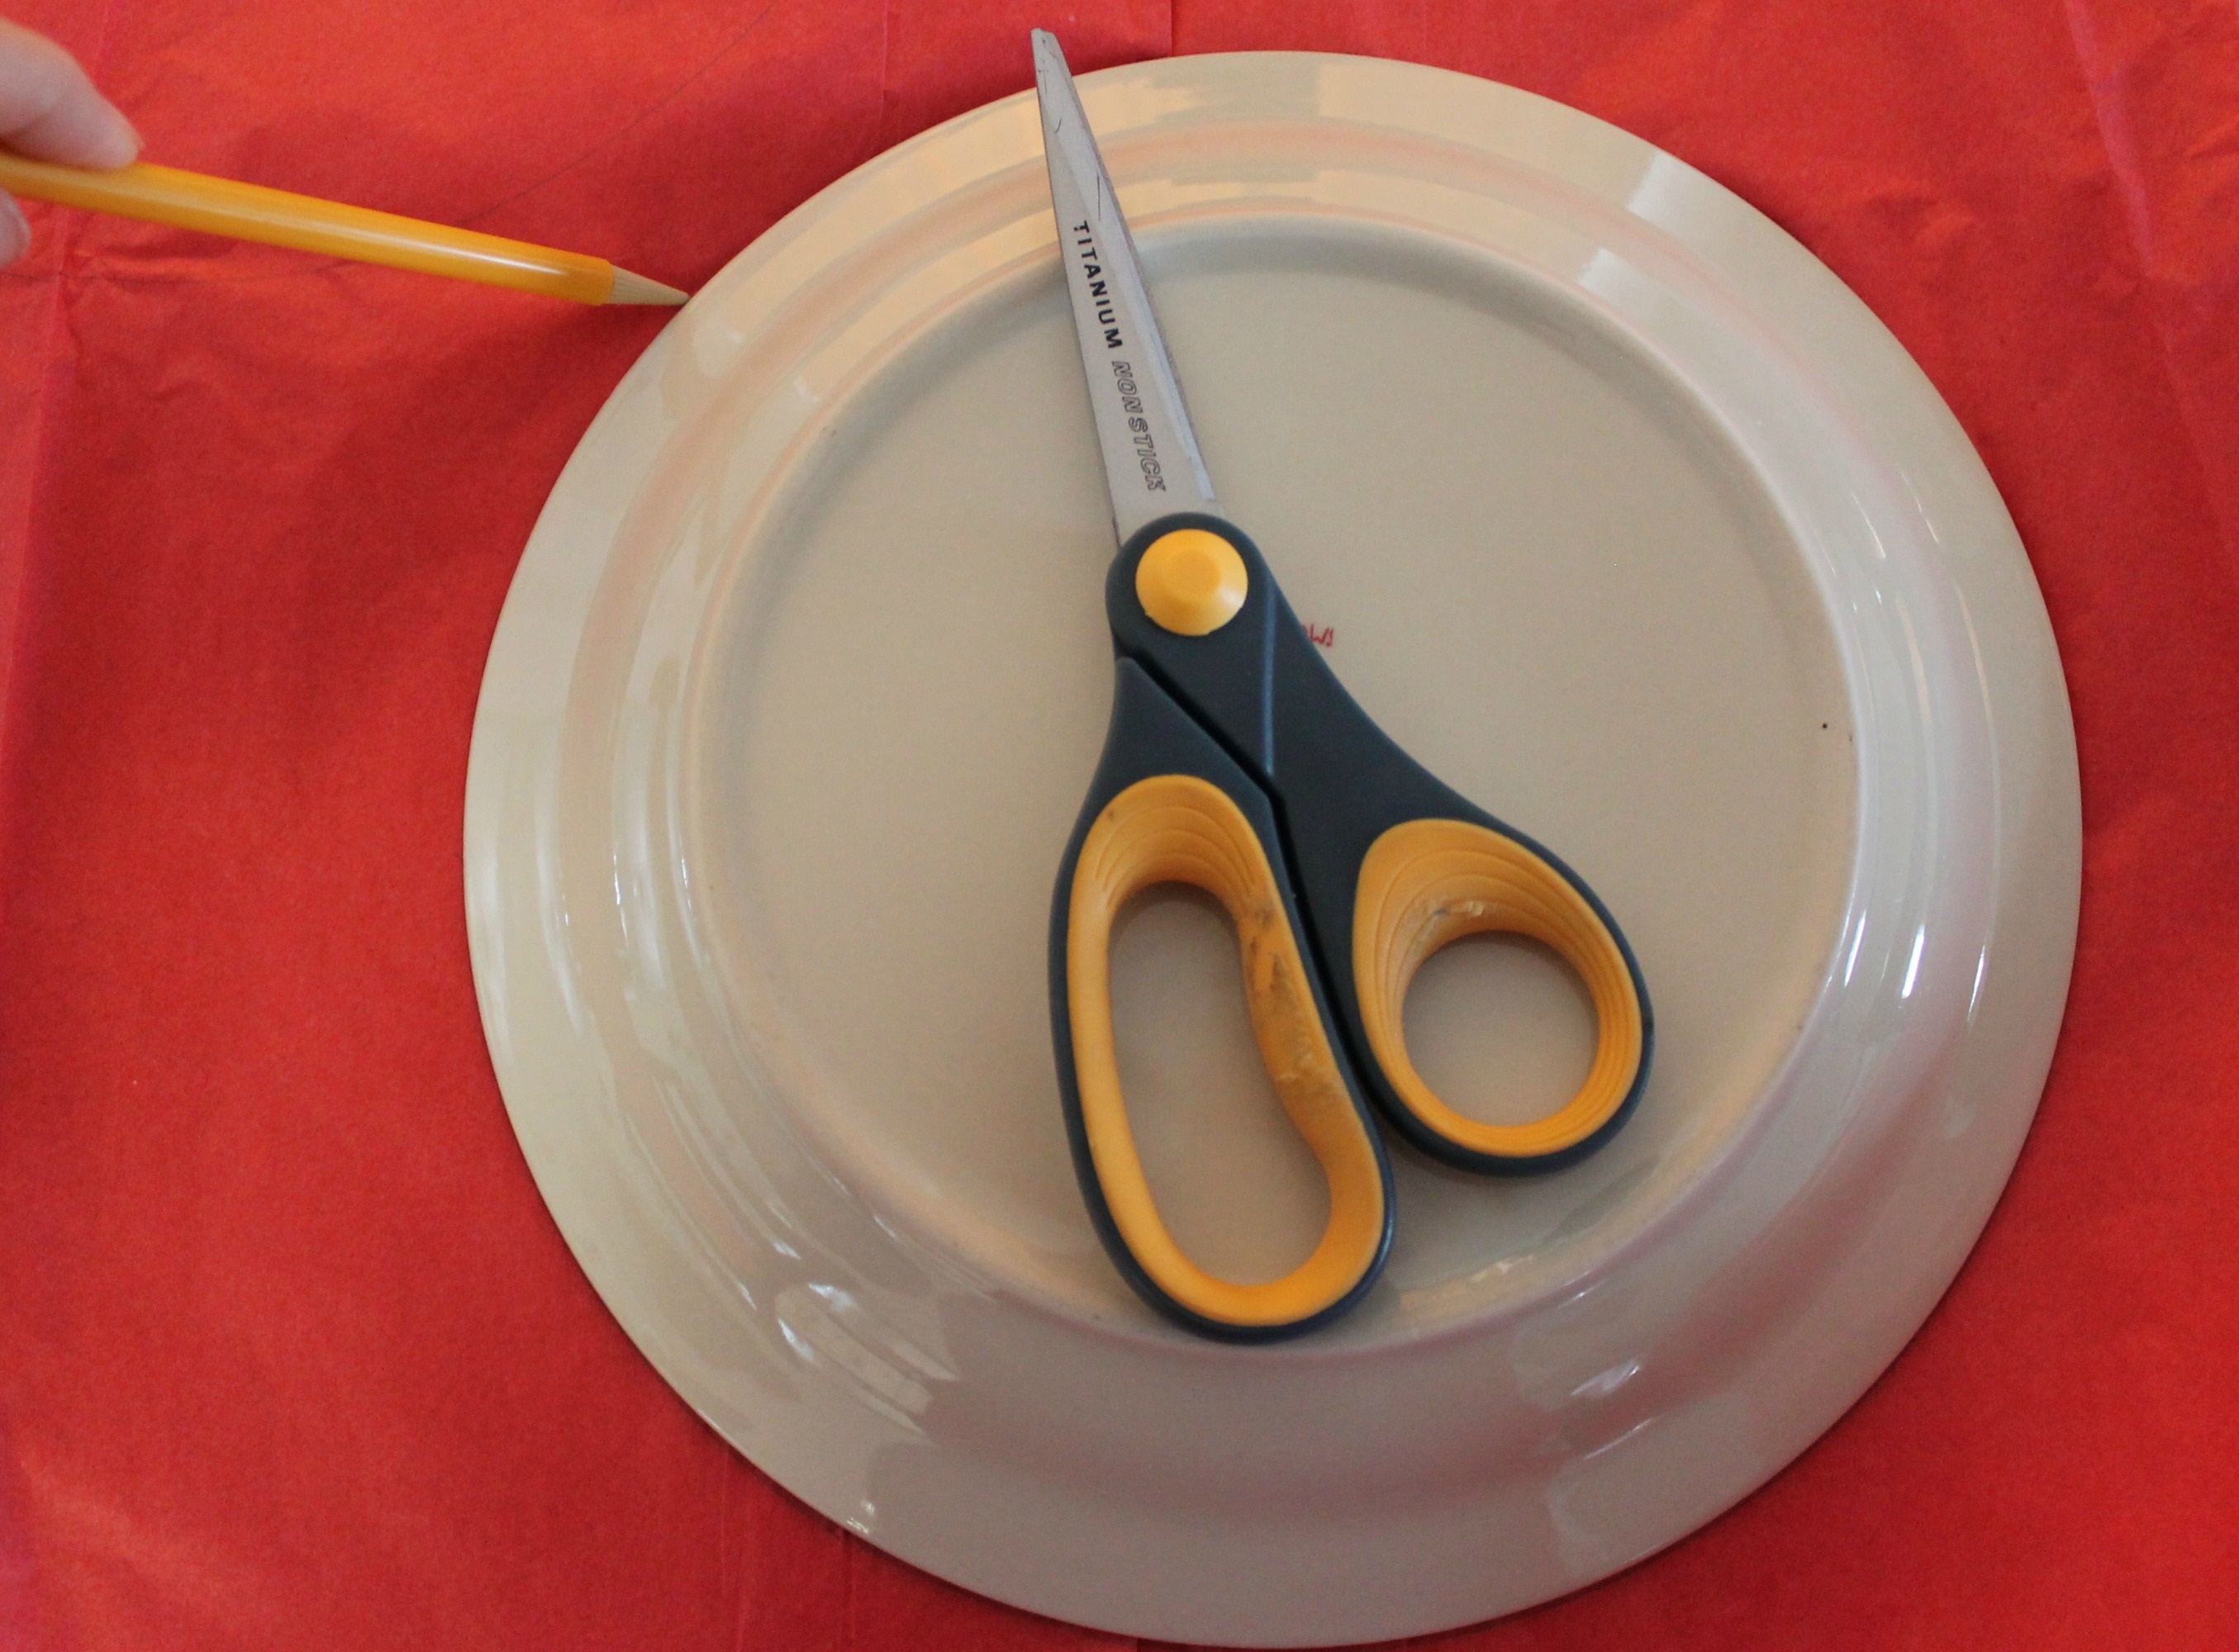
1. One circle of tissue paper (approximately 10 inches) makes one rose, so stack as many sheets as you will need. Place a dinner plate on the tissue paper and cut the paper to make circles. It may be easier if you draw a line with pencil around the plate and then cut.
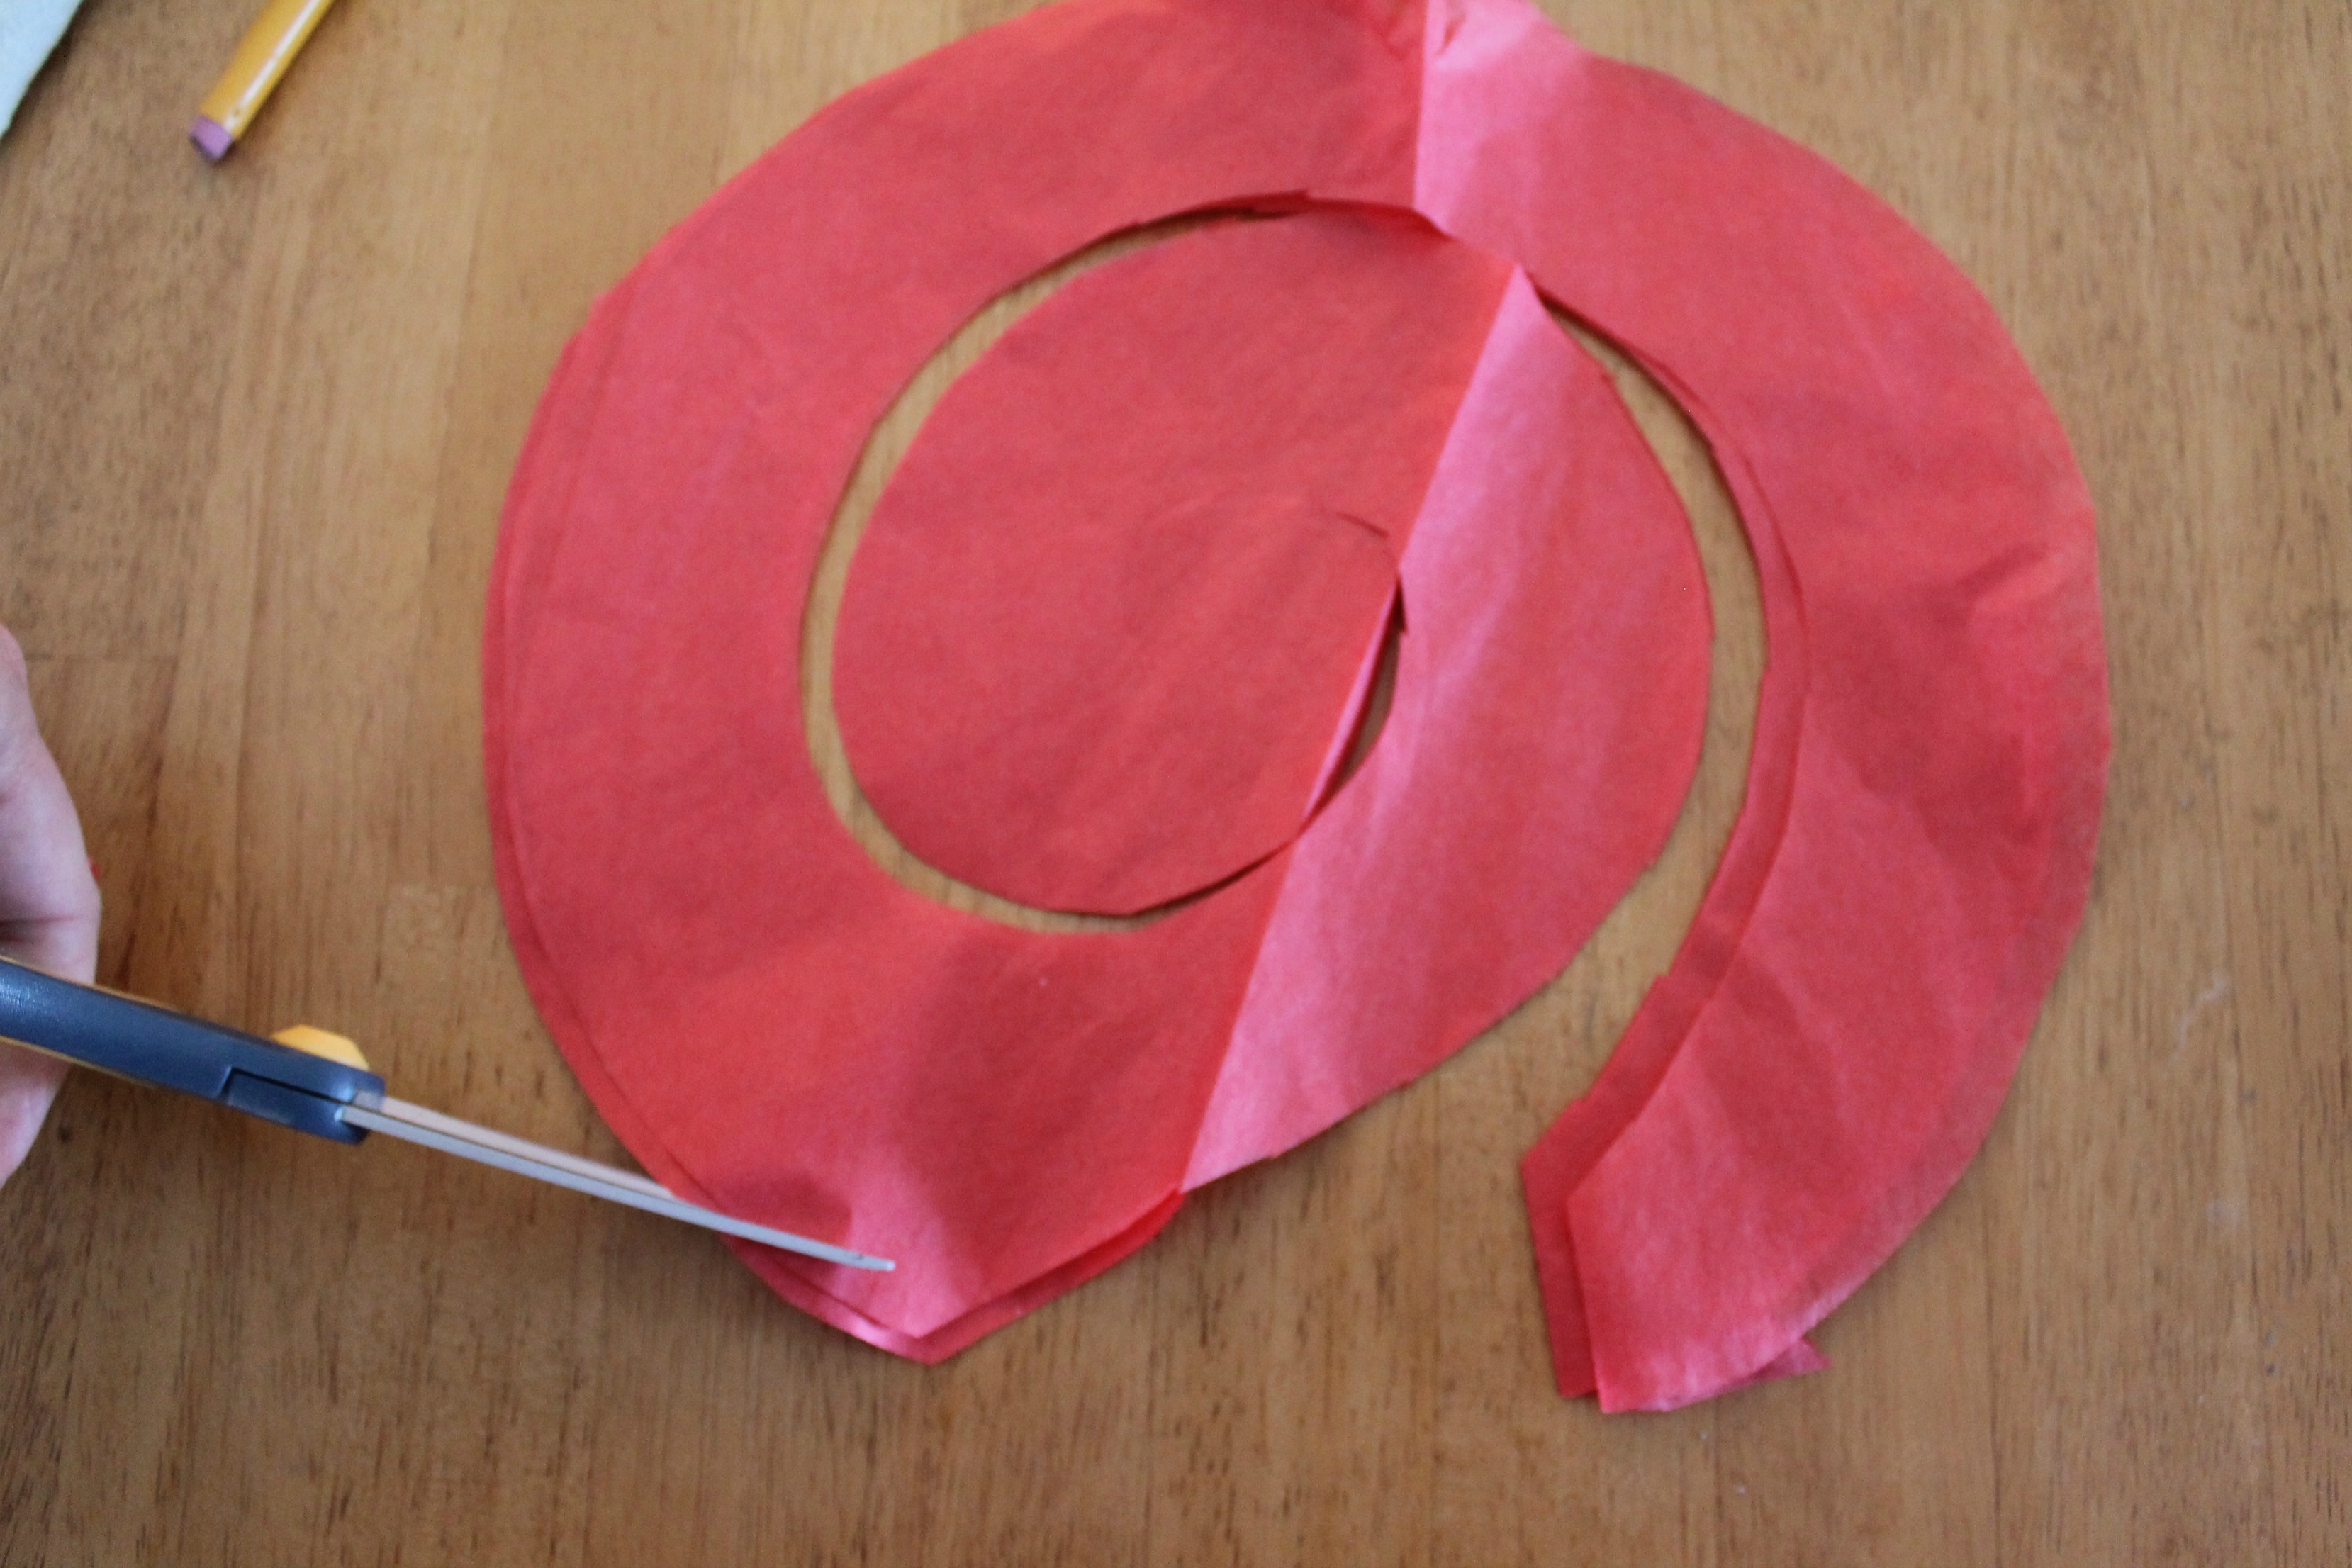
2. Cut the circles into a spiral approximately 2 inches wide. There will be a pointy spot where you began cutting. Round this off with scissors.

3. Measure a 24-inch piece of floral tape and lay it on a piece of parchment. With craft glue, make a thin line along the top, stopping at 18 inches.
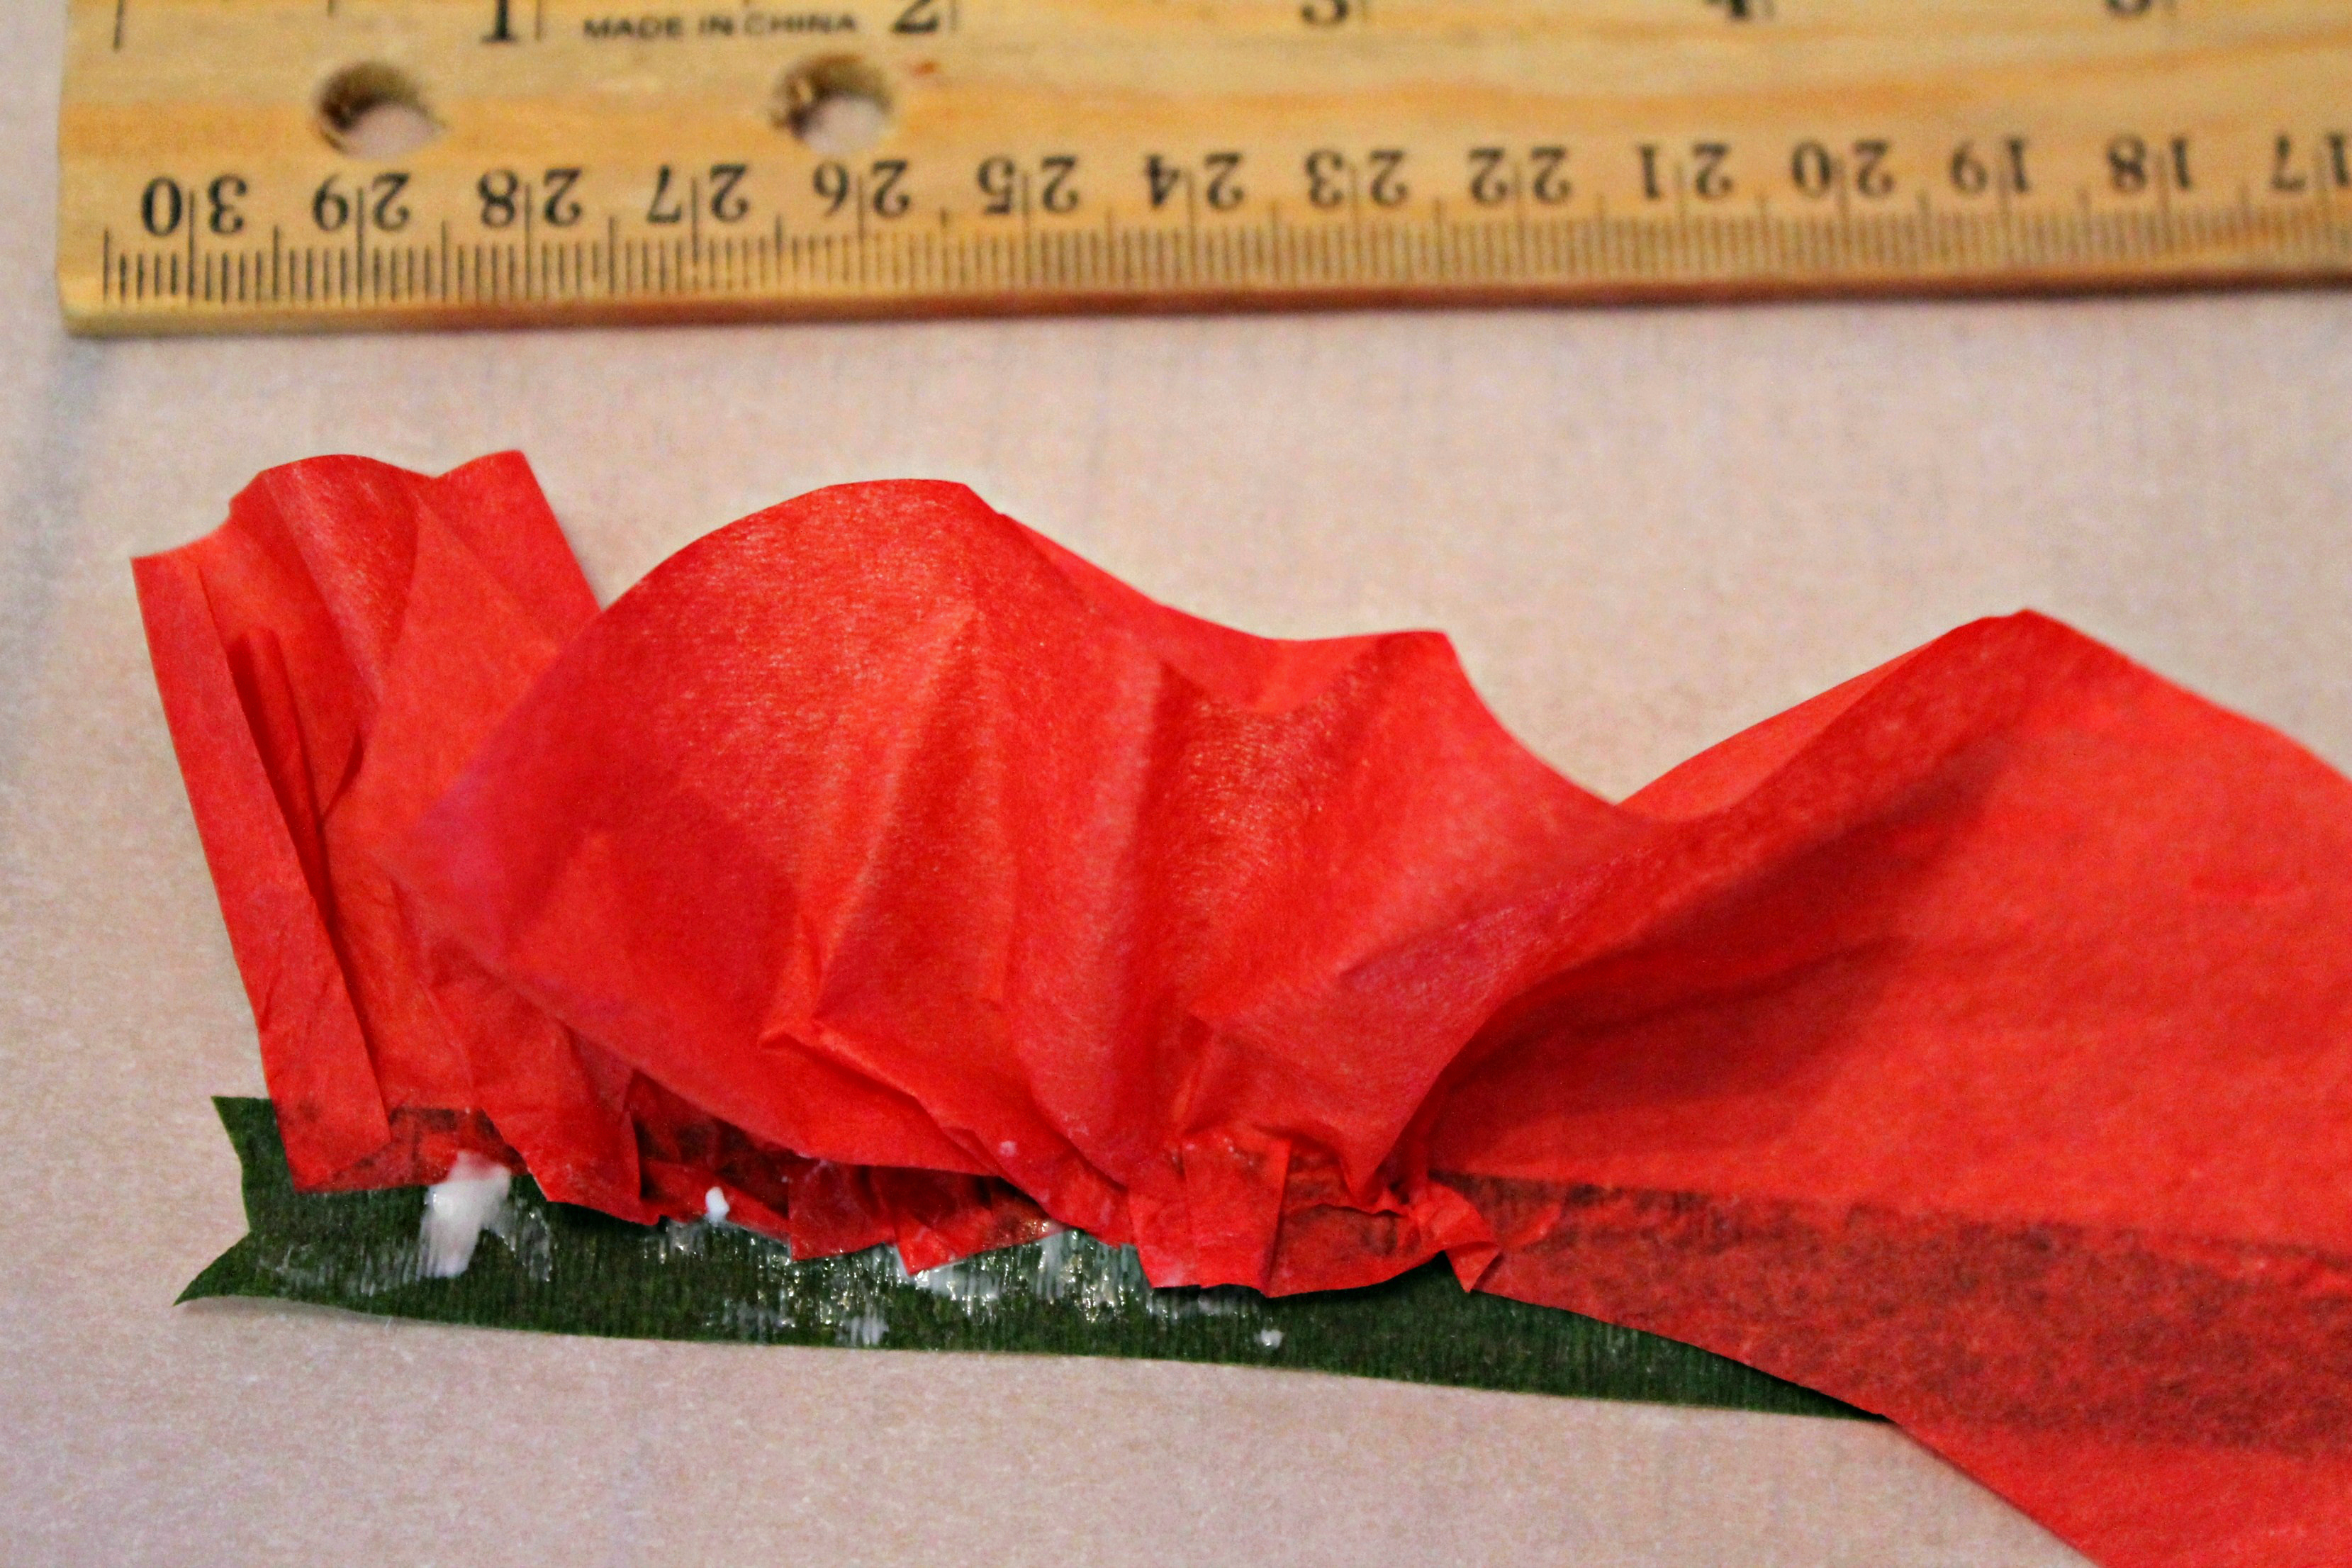
4. Beginning with the outer end of the tissue spiral, with the inside edge of the spiral facing you, begin gathering and pressing the tissue to the top half of the tape, along the glue line. This doesn’t have to be perfectly even; it will look better if it is a casual gather. You may run out of tissue paper before the glue stops. Don’t worry―as long as you have 12 inches of gathered tissue, the rose will be fine.
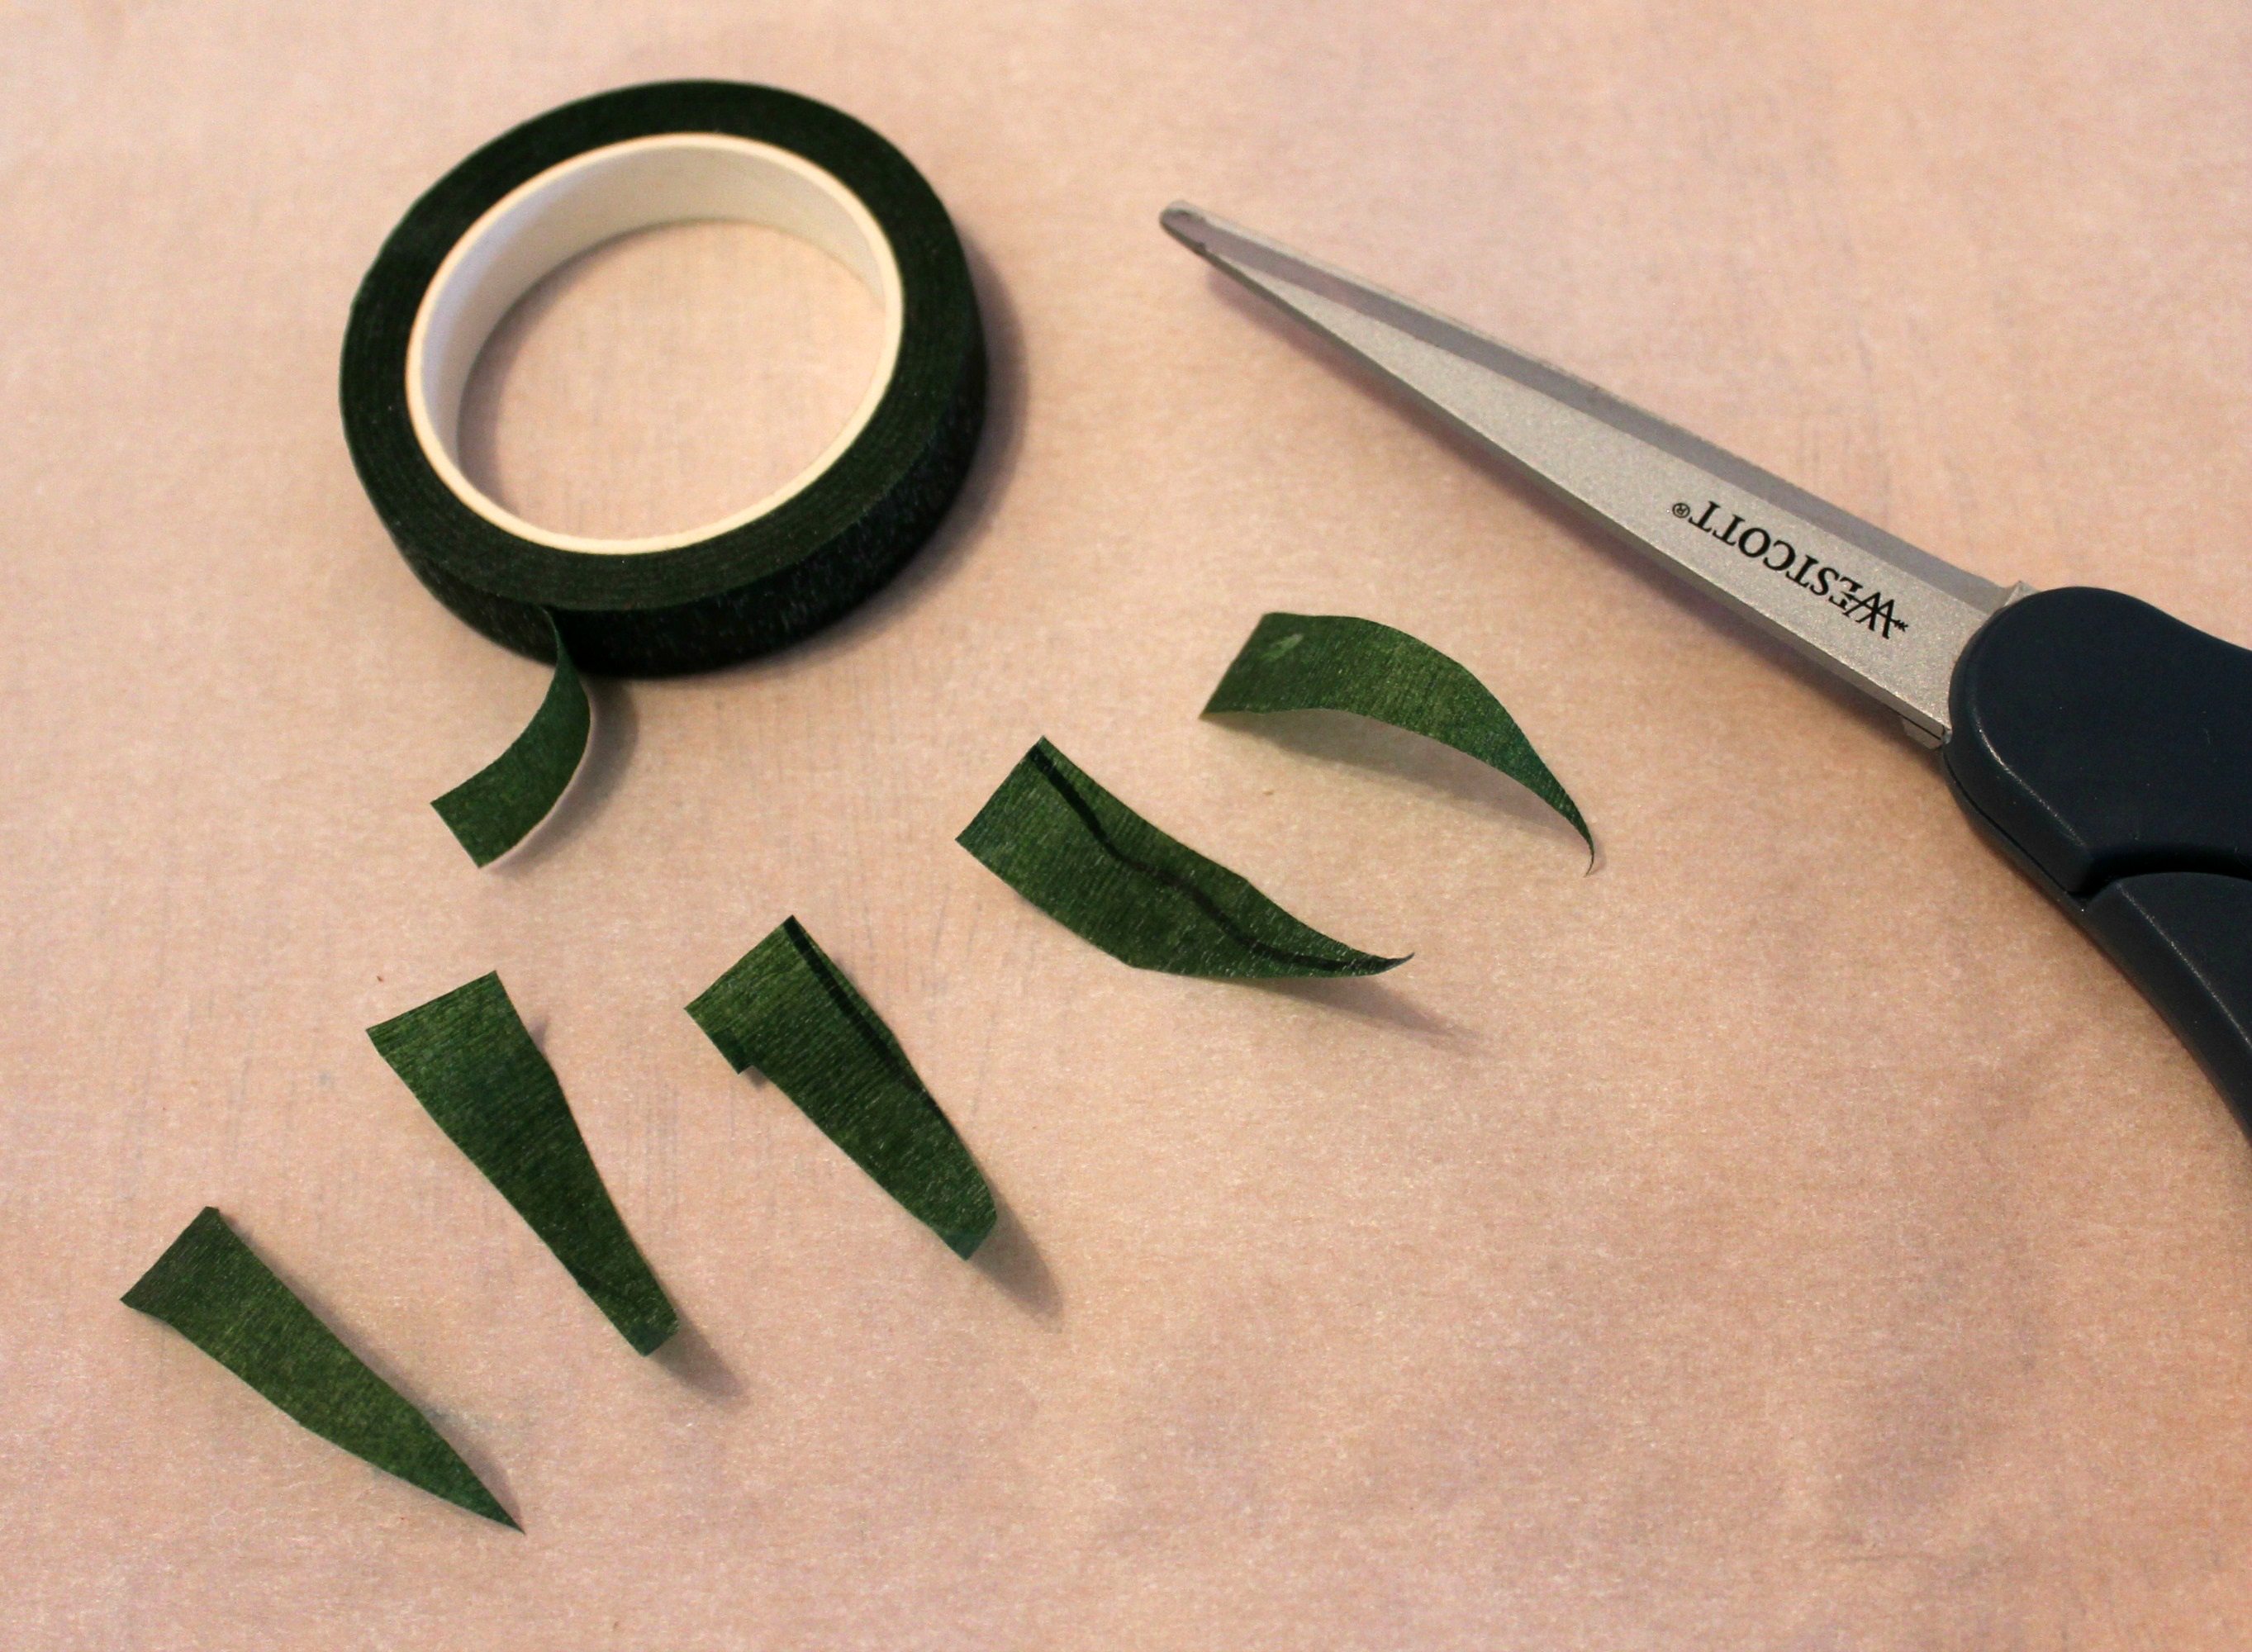
5. Let the tissue and glue set for a few minutes. While this is happening, cut 5 2-inch pieces of floral tape and trim them to create long points. These will be the sepals.
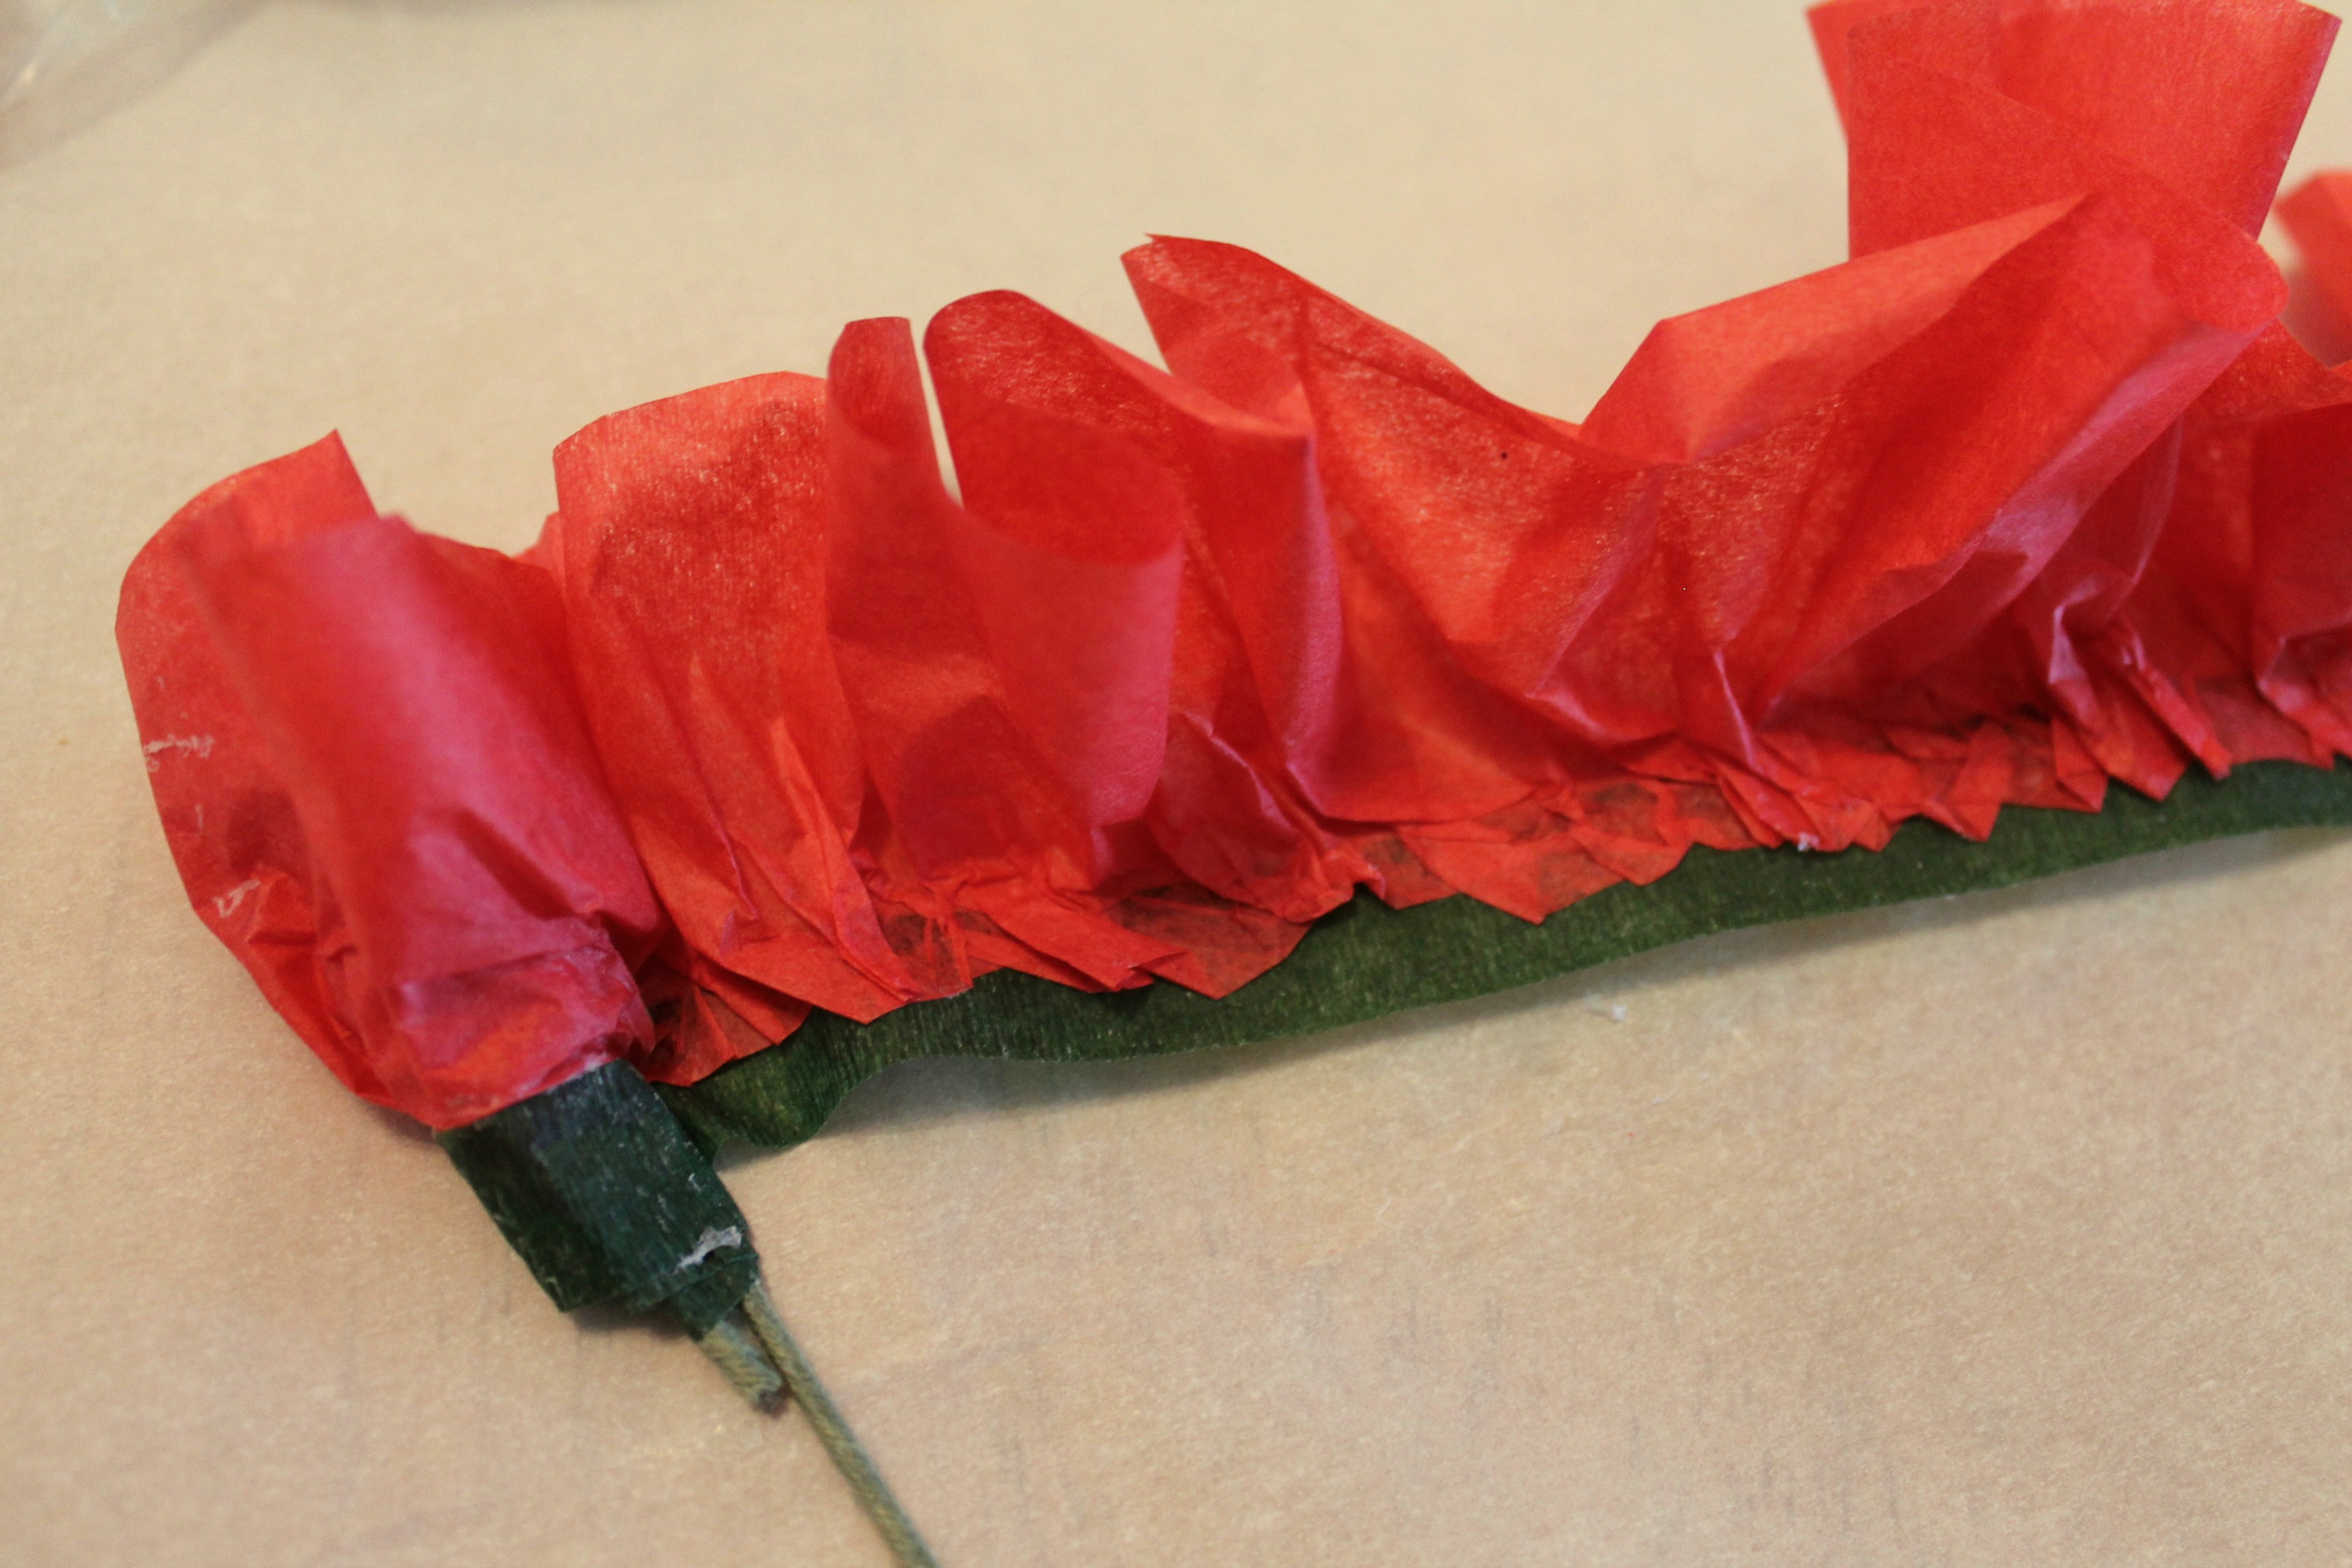
6. Bend the end of the stem wire to make it easier to attach the tape, and beginning on the left side, slowly roll the wire, picking up the tape and tissue paper as you go. Lift the tape as you roll, pinching the tape firmly. Keep the roll as even as you can, but don’t worry if the taped area looks a little messy – that will be fixed later.
7. When you reach the end of the gathered paper, snugly pull the remaining tape around the bottom of the flower and wind any excess down the stem. It’s important to keep the tape at the base of the flower from being too loose. Pinch and shape it, and keep the tape taut as you wrap.
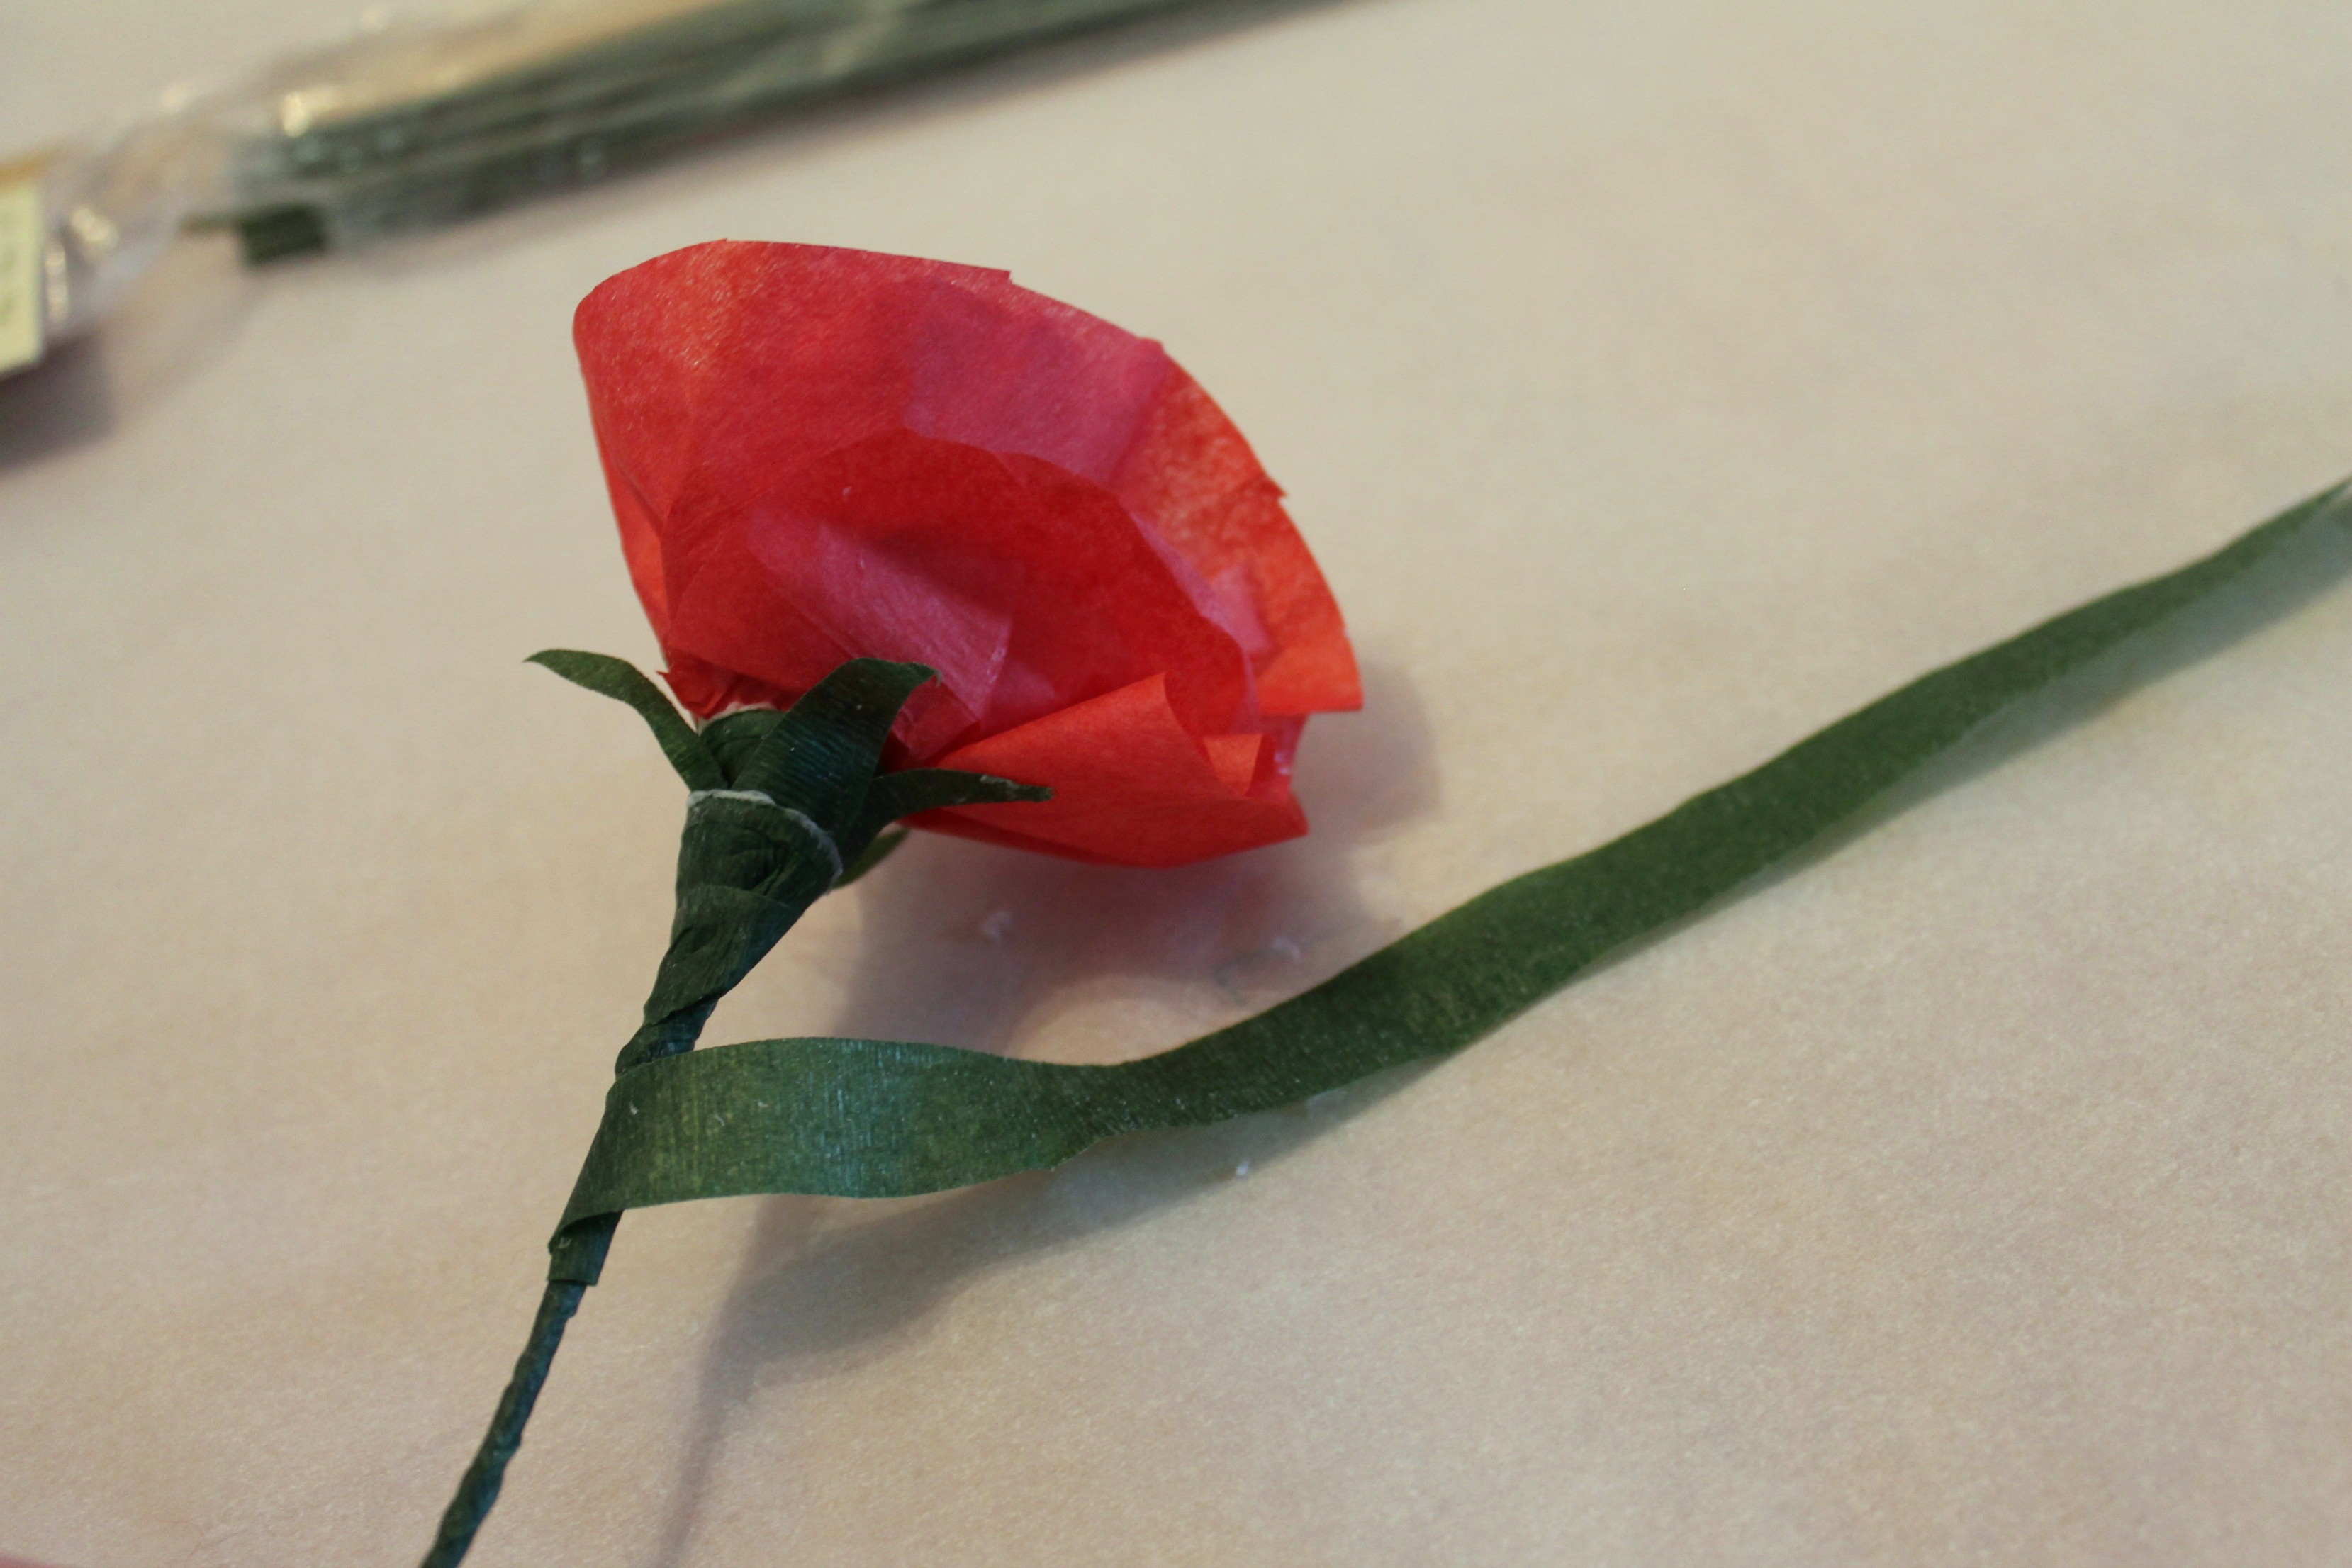
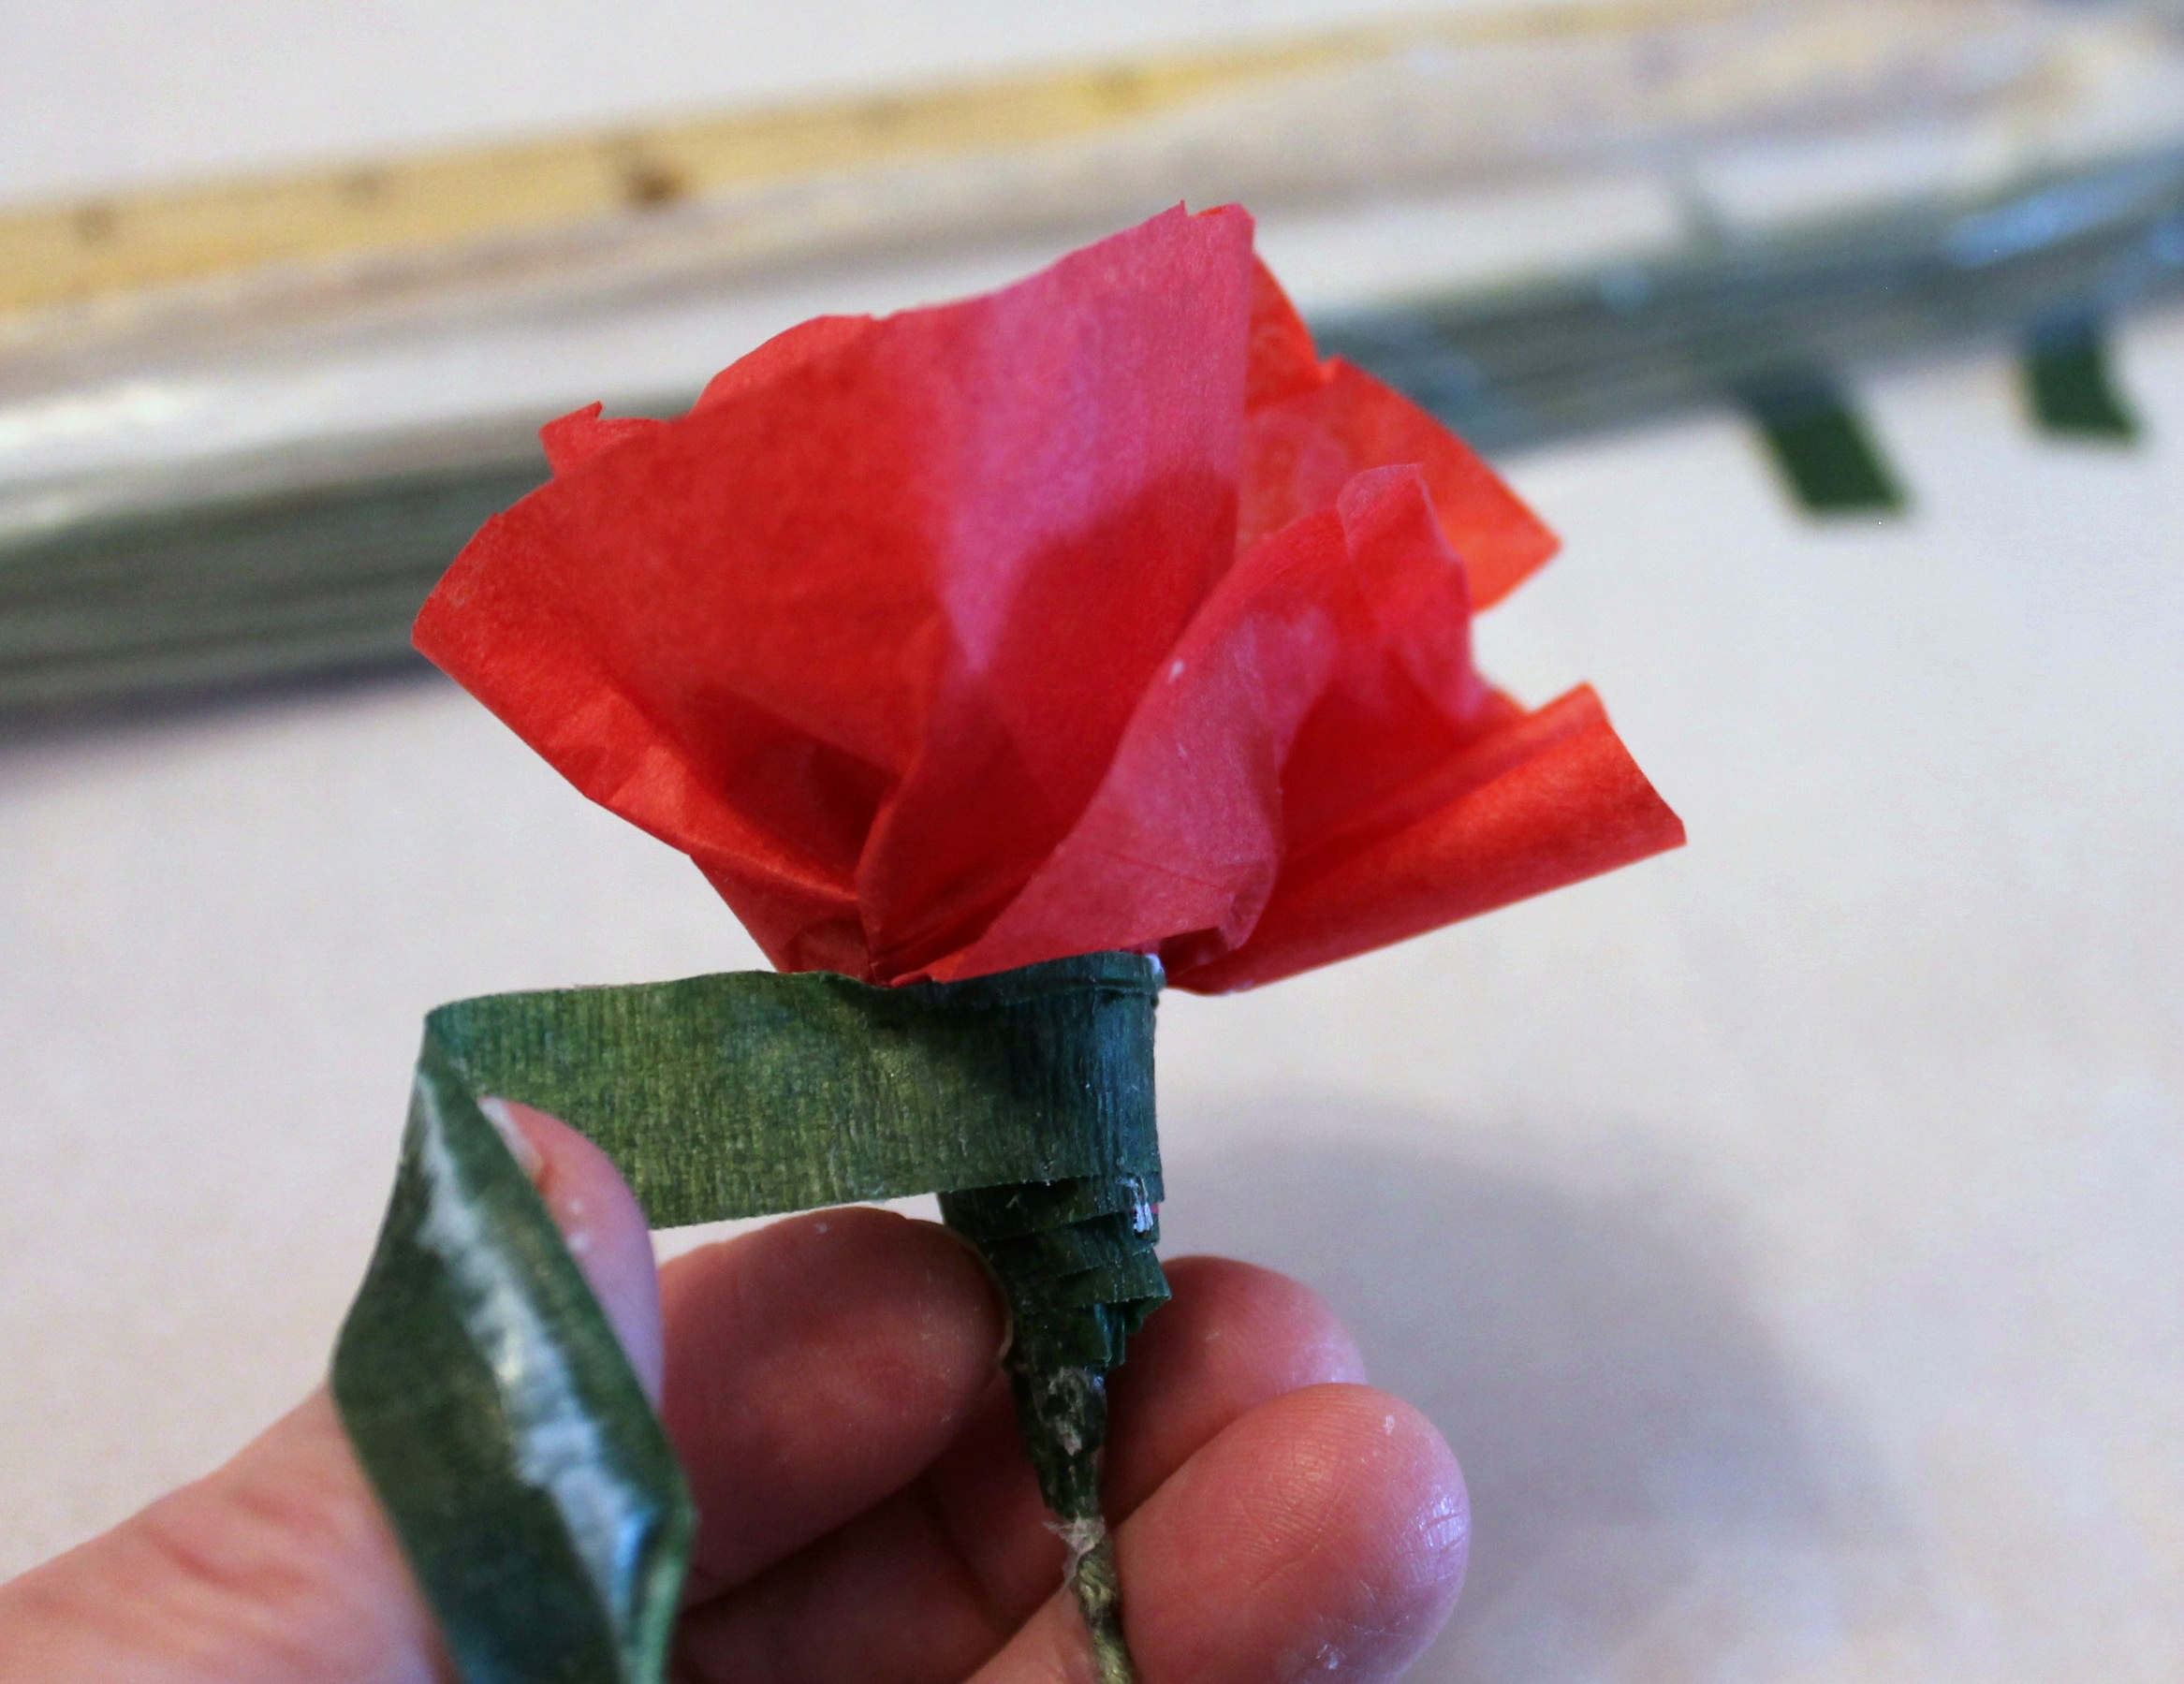
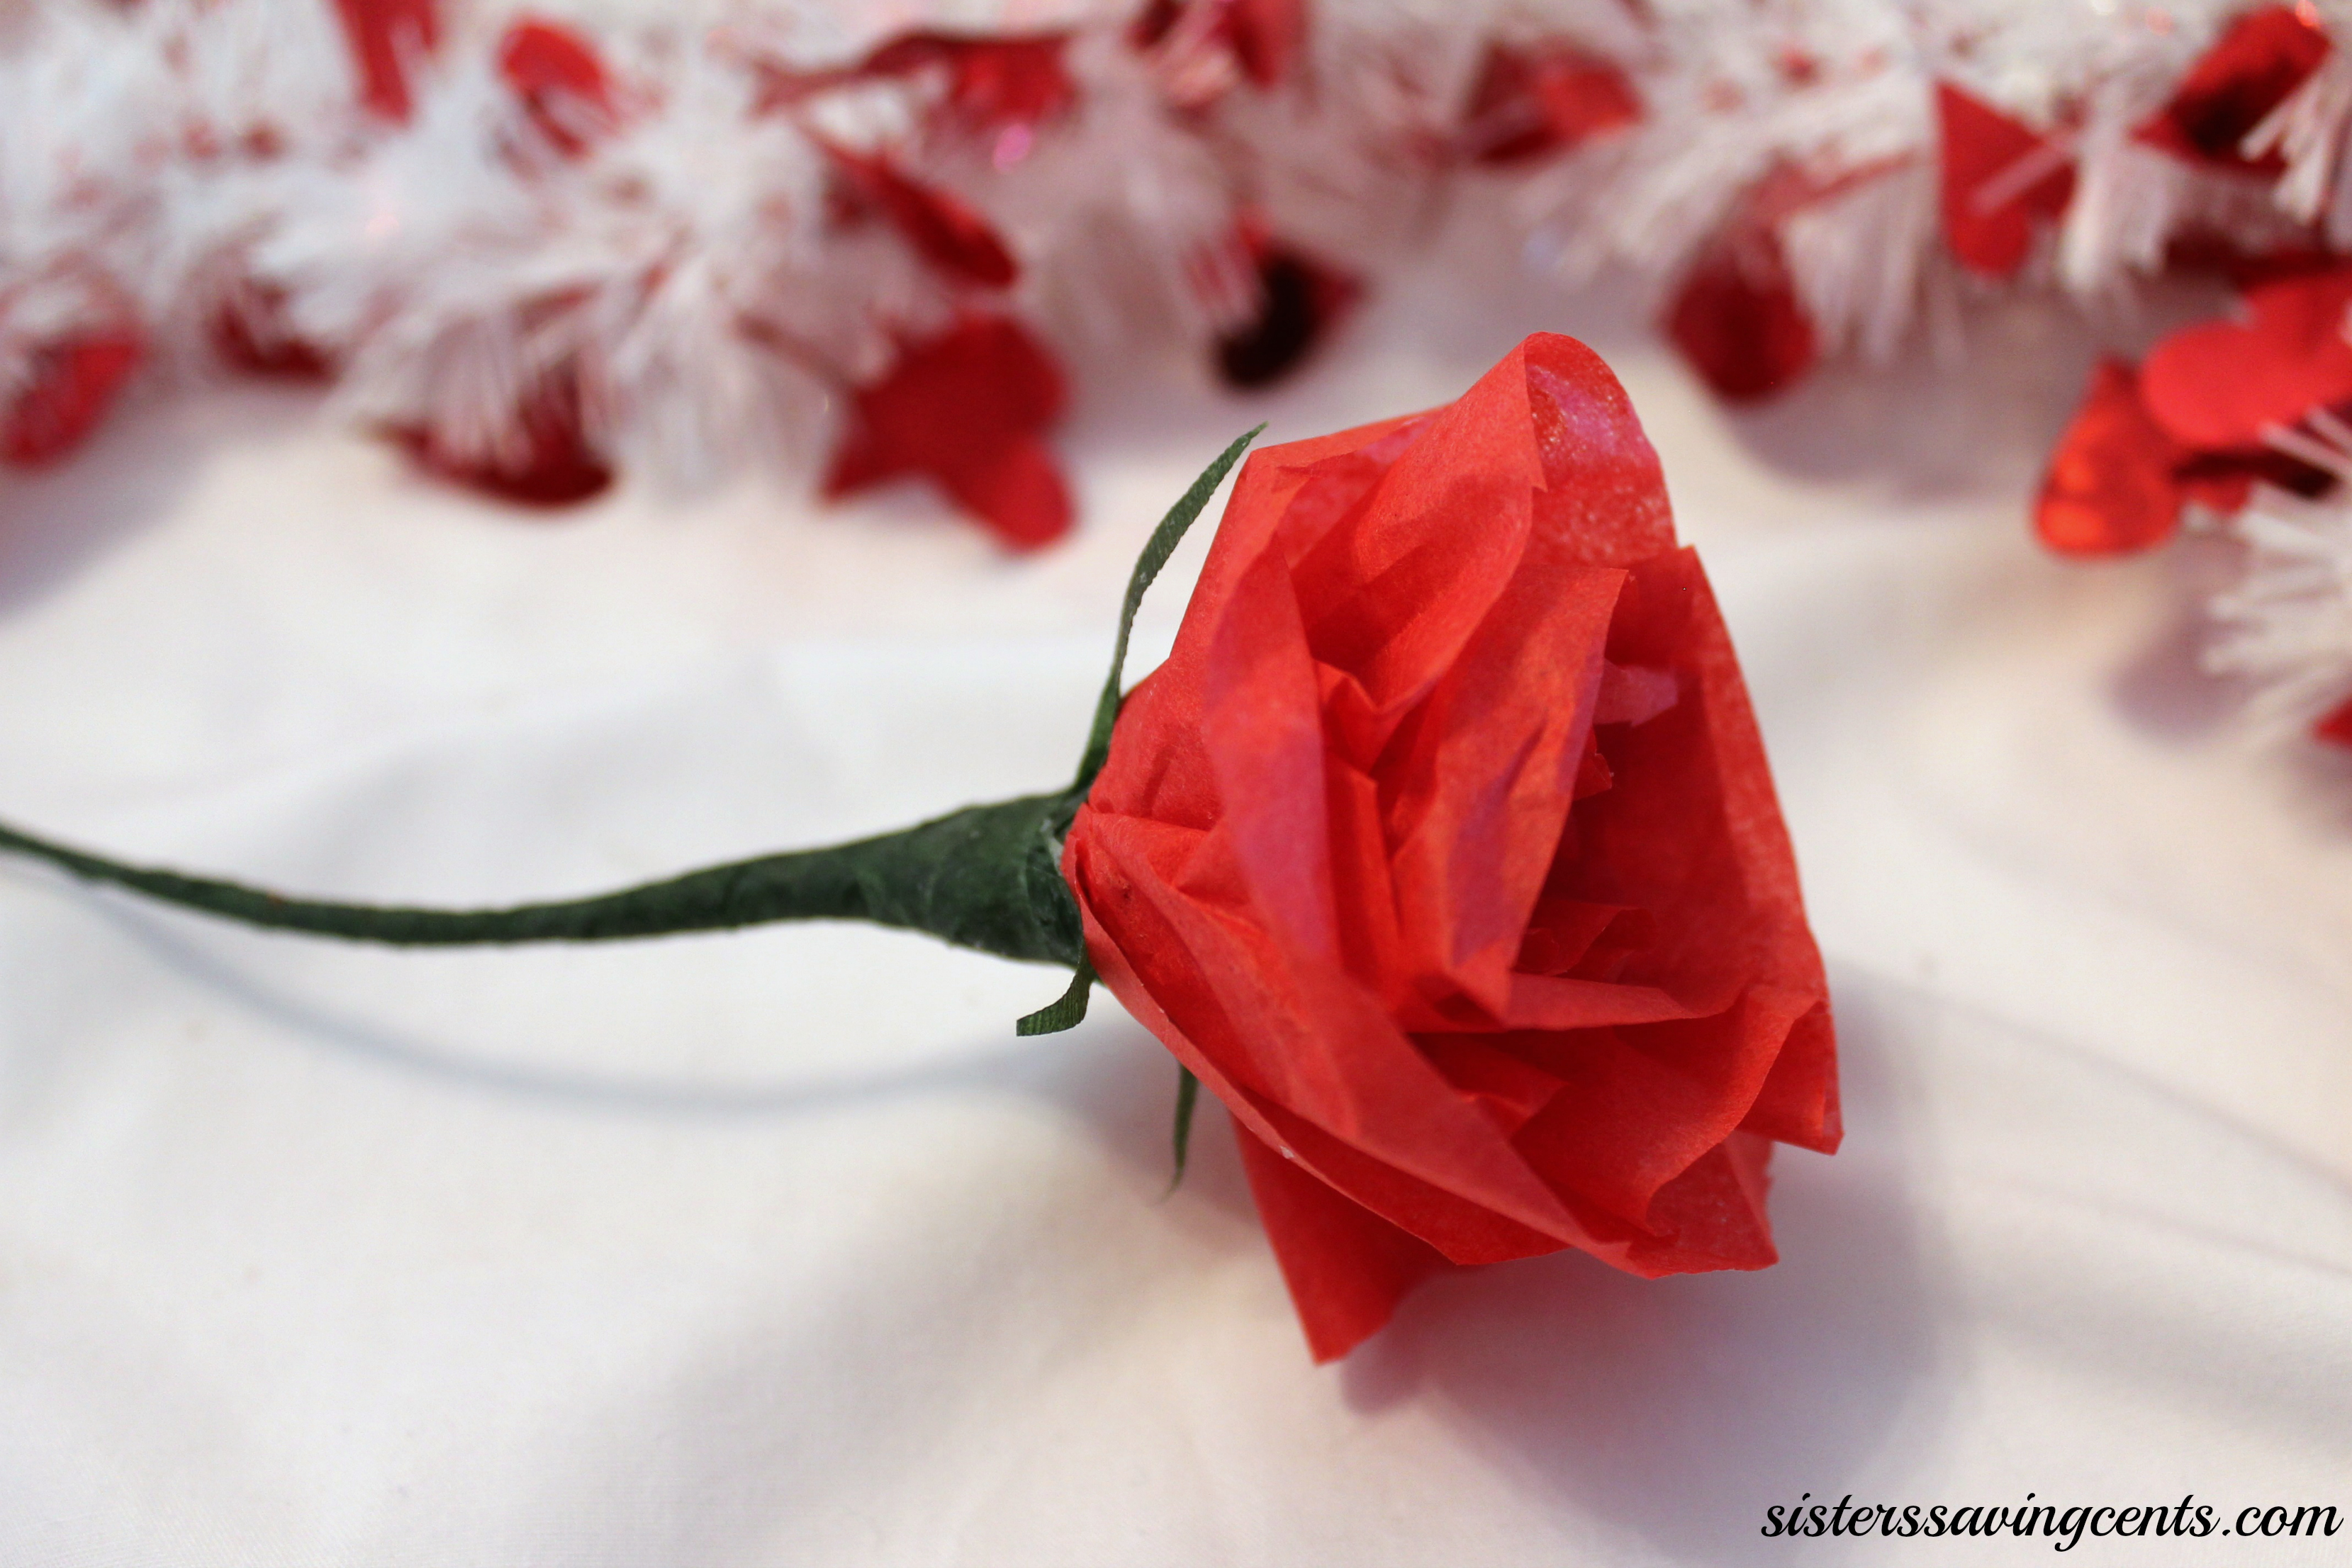
8. Cut another 24-inch piece of tape and beginning a few inches below the flower, work your way up to the base of the flower. While winding the tape firmly around the base, add the sepals, one at a time. Bring the tape back down and wind your way down the rest of the wire. Fluff and scrunch carefully with your fingers to shape the rose.
Let me know how the roses worked out for you. Do you have any other DIY projects that you are trying this Valentines day?? Leave me a comment with you ideas!
For more DIY projects click here
For more awesome Valentines posts click here


Leave a Reply to 25 Valentines Day Kids Crafts - Sisters Saving Cents Cancel reply