 My husband and I were trying to come up with something different to eat this week and he mentioned his Mom used to make some kind of chicken pockets when he was little and he absolutely loved them. So on a quest we went and between his memory and some searching on the internet we came up with our version and called it Catherine’s Chicken Pockets!
Now I have to say that when I began making them I got pretty nervous! It’s really hard to make anything as good as “Mom” did back in the day but I was bound and determined to do my best!! I got 4 thumbs up on this one, everyone loved it and I enjoyed eating it with my husband and talking bout how he remembered eating it as a kid.
Ingredients:
- 8 oz cream cheese (softened)
- 14 oz of chopped chicken ( I used chicken that I had saved from making broth but you can use the equivalent amount of canned chicken if your looking for something easier)
- 1/2 tsp. celery seed
- 1/2 tsp parsley
- 2 tbs. finely chopped onion (dried minced onion will work too)
- 2 cans Pillsbury Crescent Rolls (keep refrigerated until ready to use)
Directions:
- Pre-heat oven to 375°
- lightly grease cookie sheet
- Mix all above ingredients in a bowl (do not mix in the crescent rolls, they should still be in the fridge)
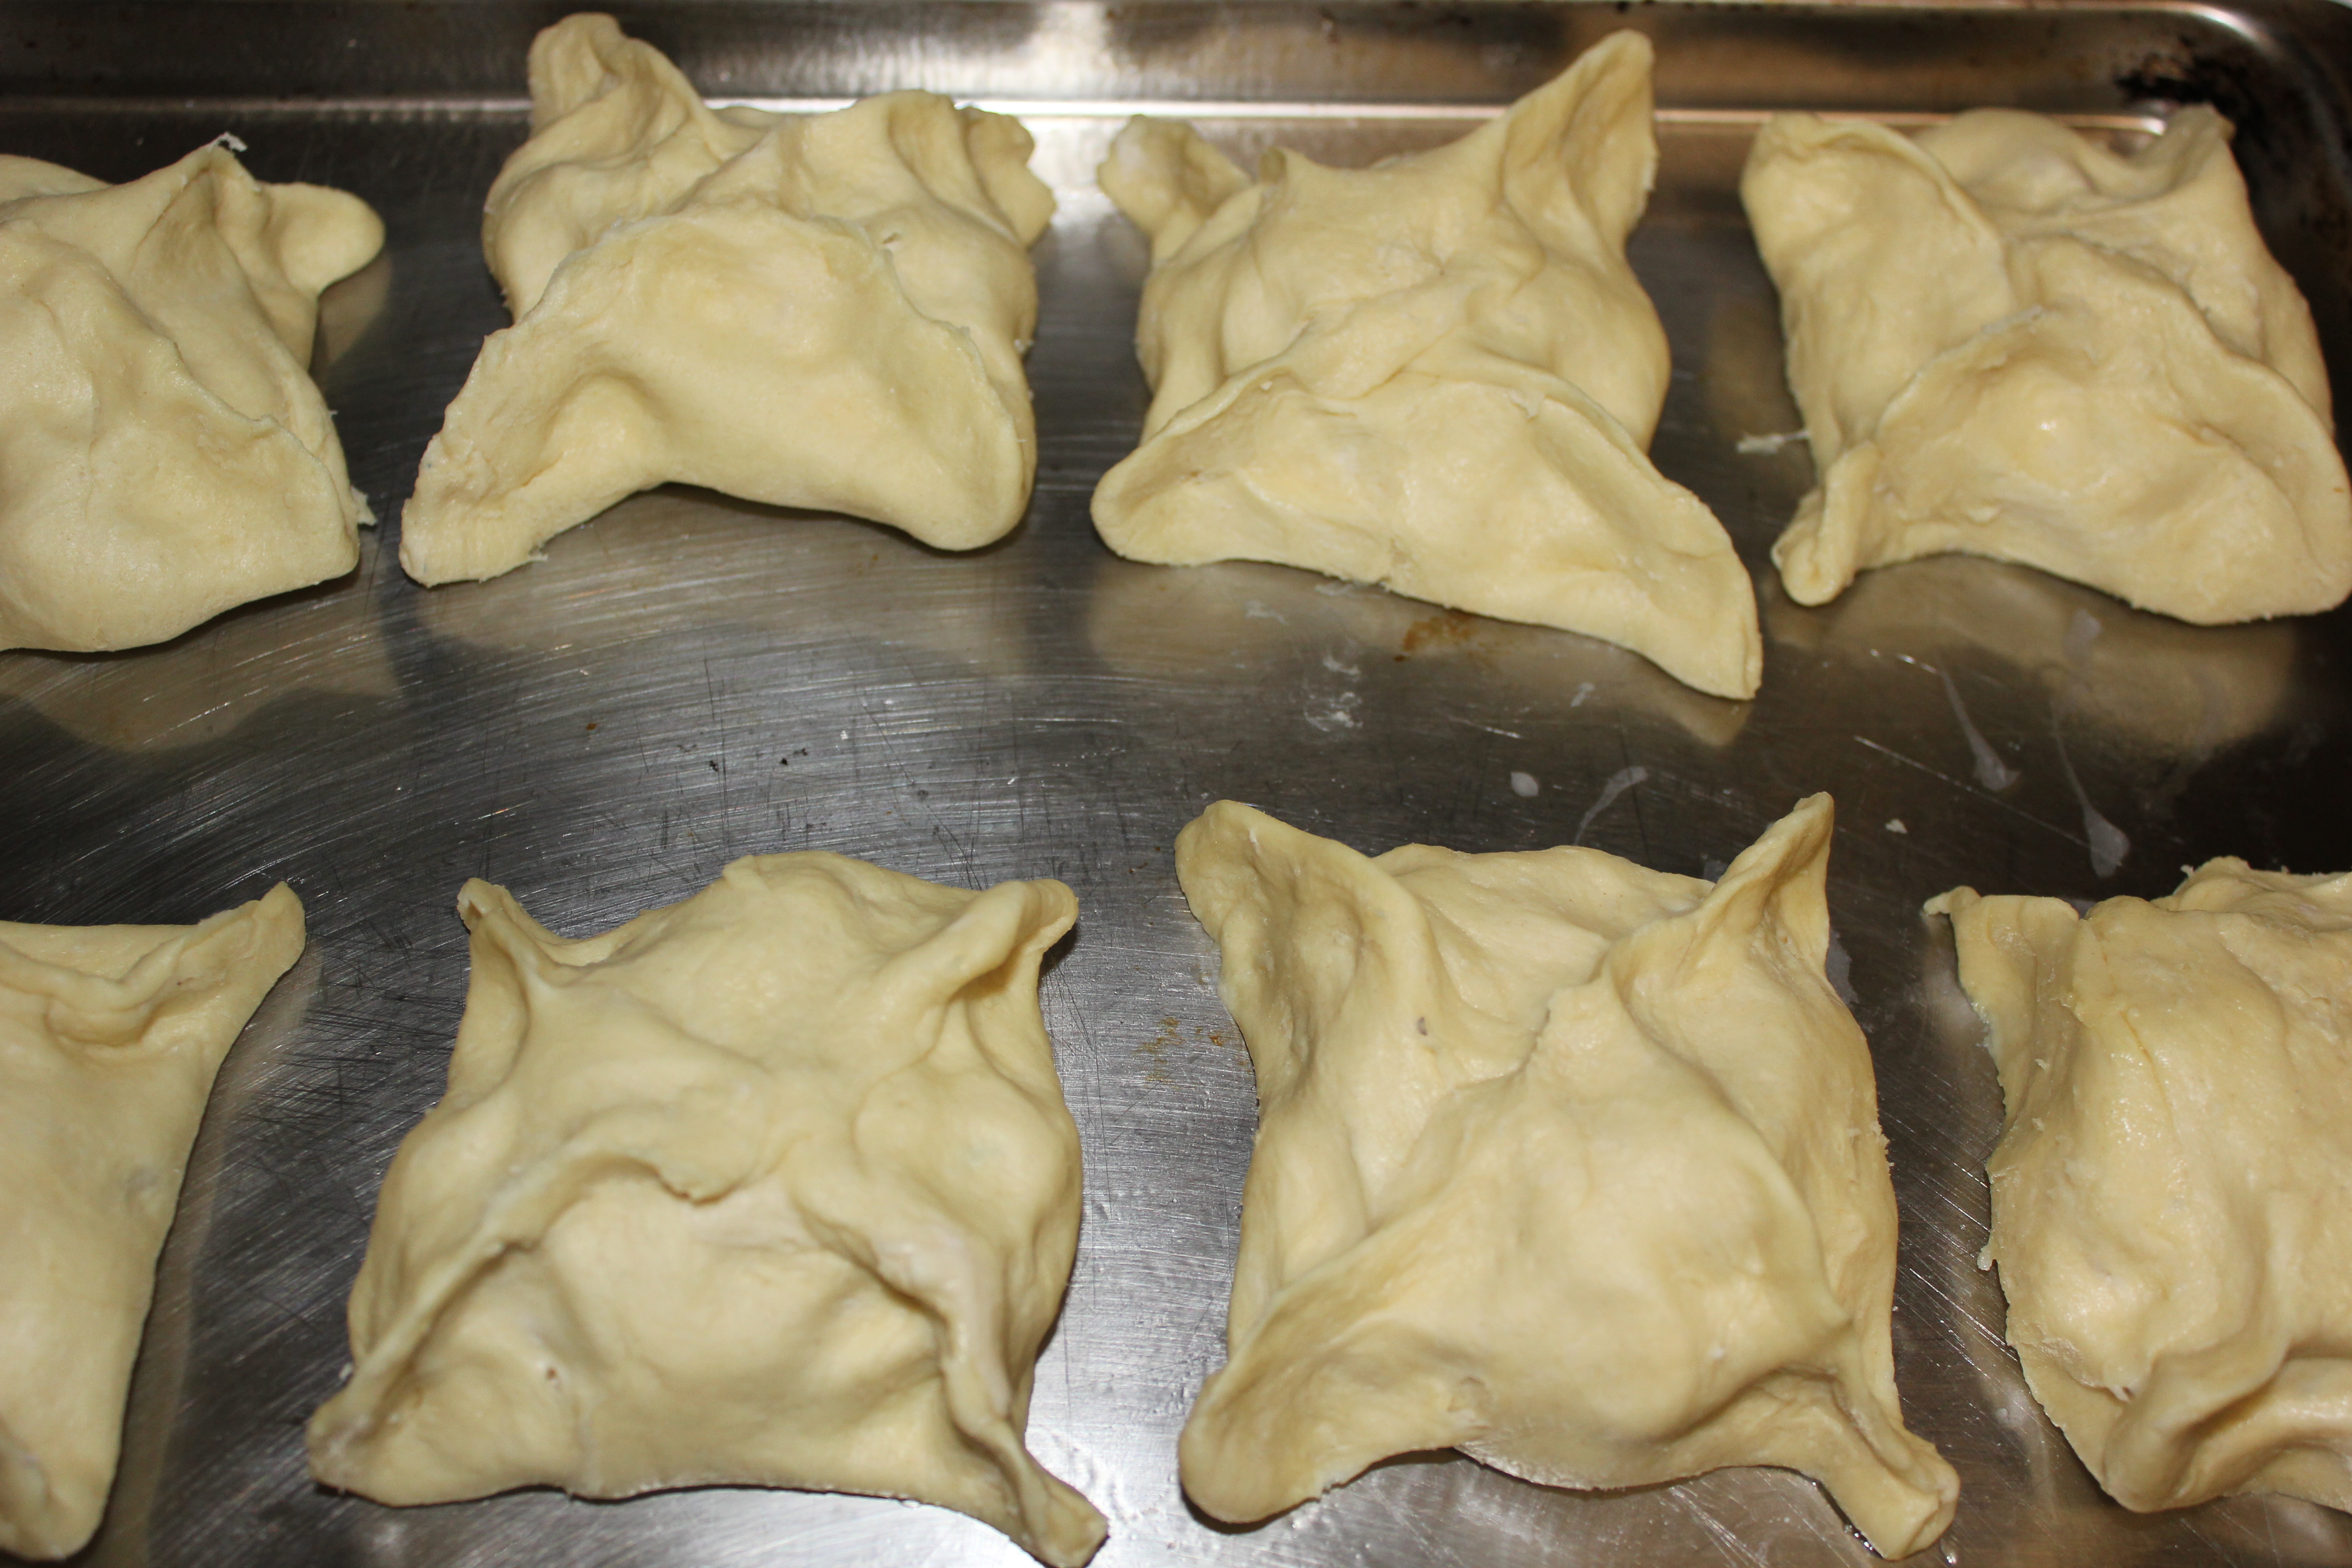
- Open the crescent rolls but do not tear the triangles apart. You need to keep two triangles together to form a square. Pat the seams closed and pat your dough out to make a bigger square.
- Put a spoonful of meat/cream cheese mixture into the middle of each square, fold each corner of the square up-words to meet in the middle. Pinch together all seems to form a pocket.

Before being cooked
- complete all 8 pockets and set on your cookie sheet.
- Place in the oven and bake 15-20 minutes until golden brown. Make sure you prick the very top center of one of them to make sure your dough is cooked through and not gooey.

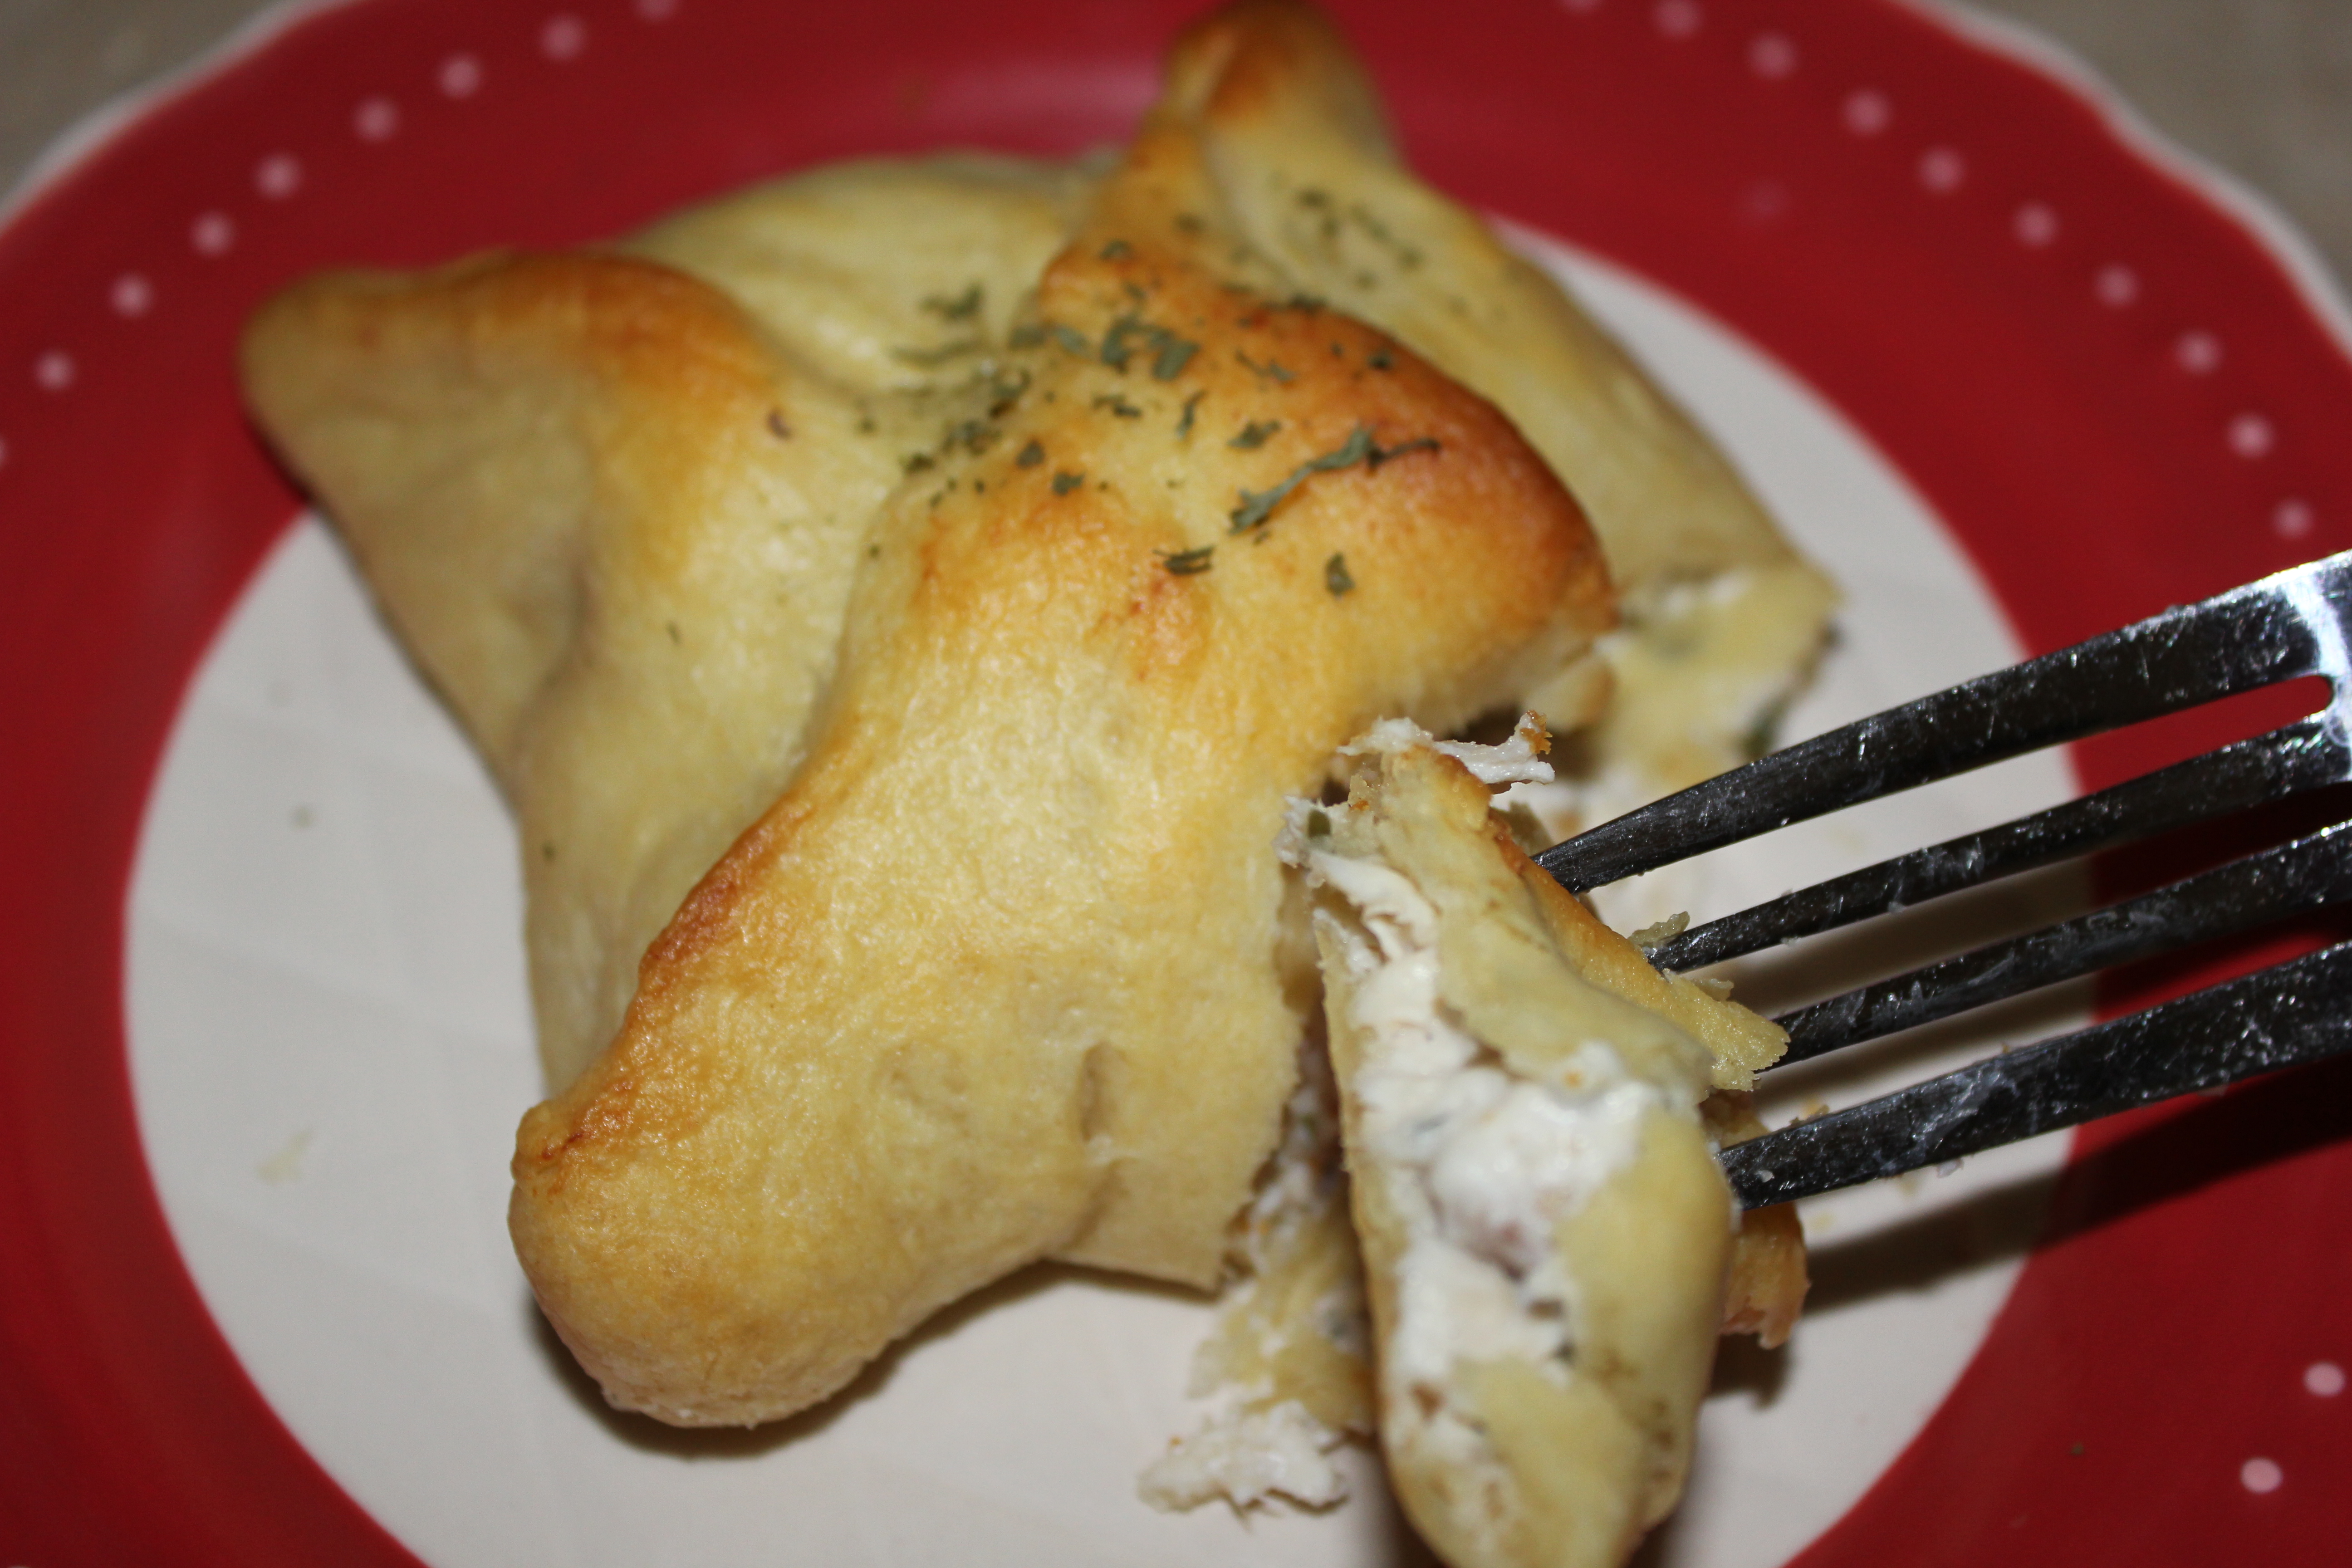
After Cooking
Now if you look at the picture to the right you will notice that they just look weird I wanted to include this so you weren’t wondering the whole time they are cooking if they are going to turn out all right! LOL I did brush each of them with butter after cooking to give them a nice buttery taste.
I hope you enjoy this tasteful but super easy recipe!! Next time I make them I am going to try adding some Franks Red Hot and make them into a Buffalo Chicken Pocket!! 🙂


Share Your Thoughts: