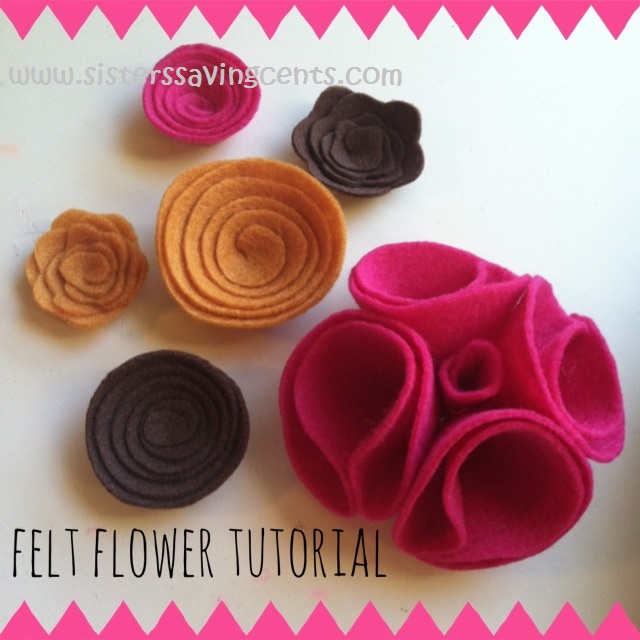
 You can make amazing flower design’s just like these at home for next to nothing! Home decorations and crafts with felt are popping up everywhere nowadays. It’s really no wonder. Felt is an easy fabric to work with because it doesn’t fray, and it’s easy to find in a variety of colors. Selling for about 48¢ per 9”x12” sheet, it’s pretty affordable as well. Here’s a step-by-step tutorial for making felt flowers design ‘s that can be used for everything from hair accessories to magnets. You can even try sprucing up an old picture frame by gluing on a bright flower or two! What you will need:
- Felt sheets
- Sharp scissors
- Hot glue gun
- Glue sticks
- Optional: embellishments such as buttons, rhinestones, or beads.
Spiral Flower Design
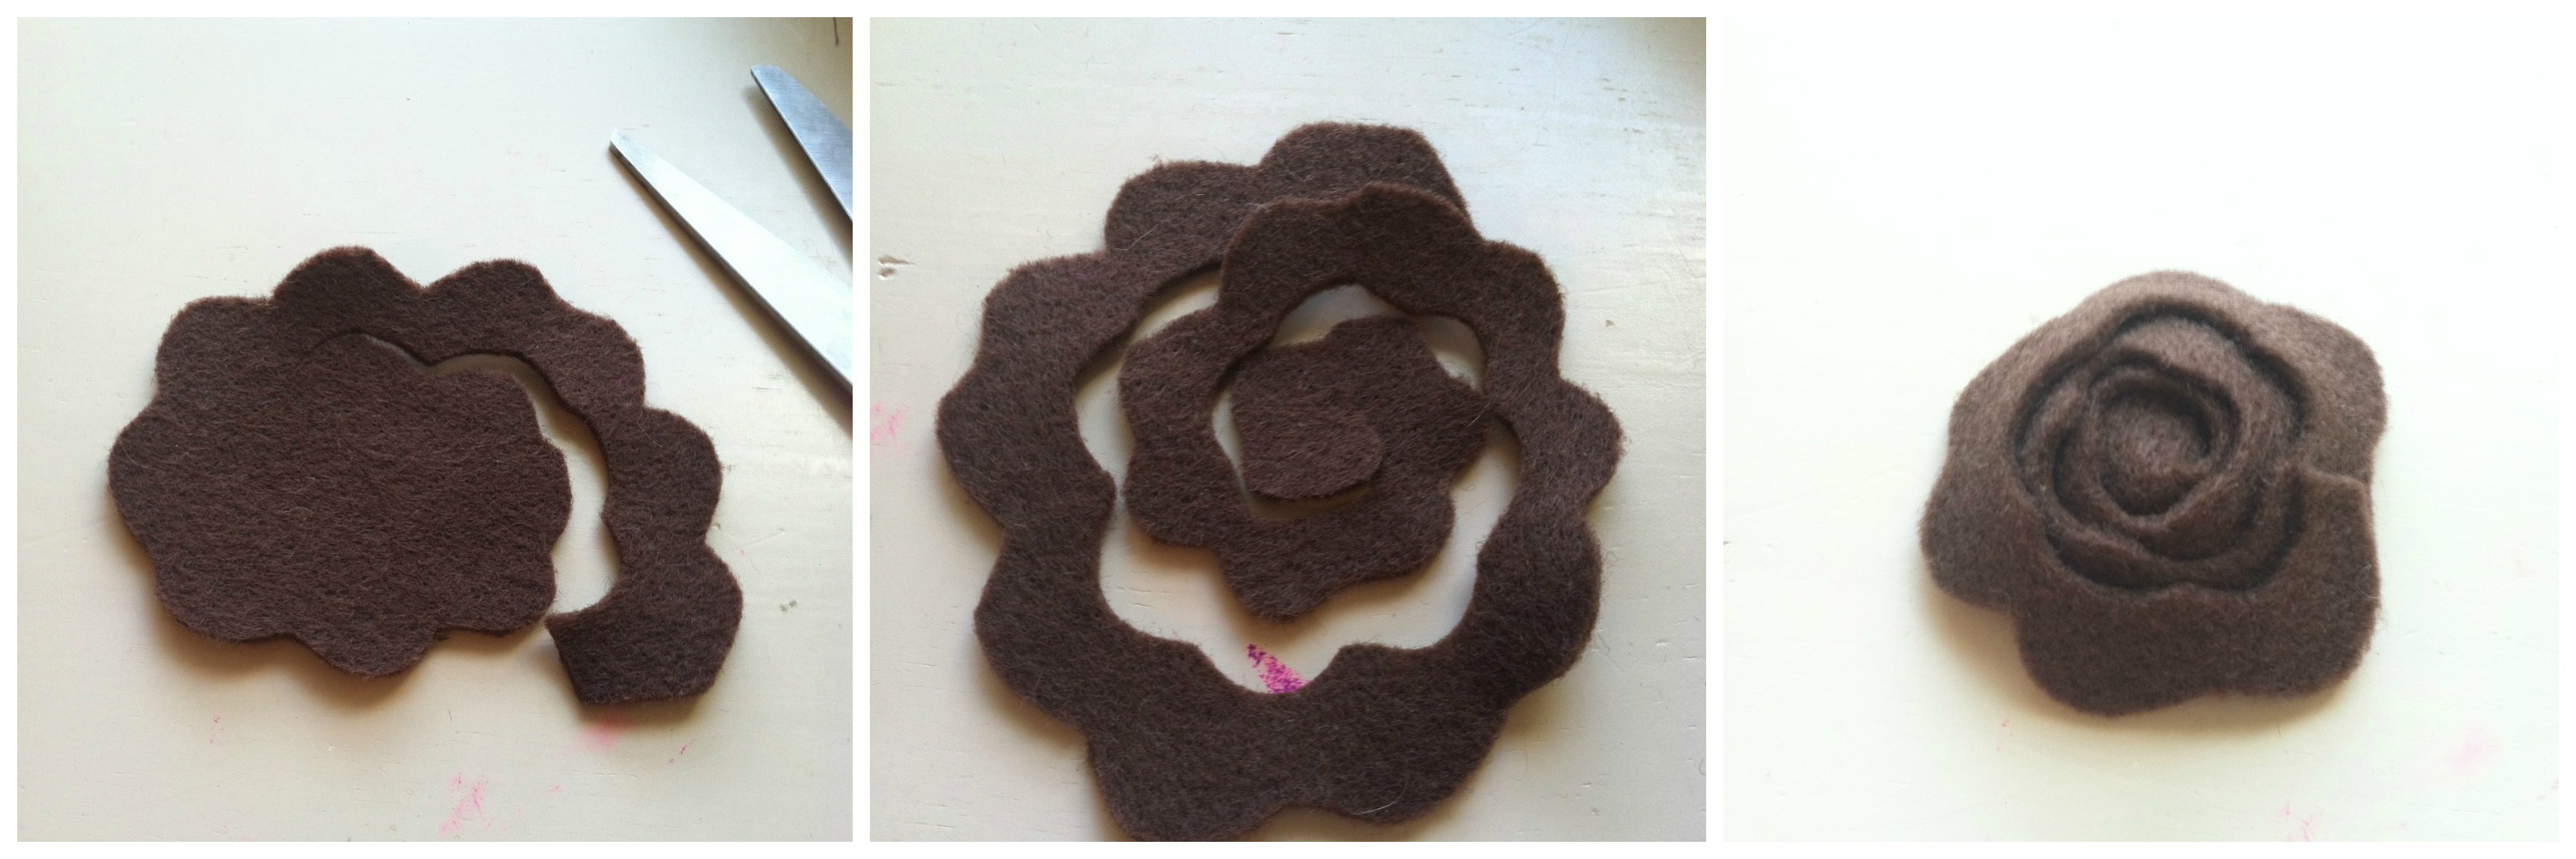
Step 1: Lay out your felt and grab a sharp pair of scissors. Trying to cut felt with scissors that are too dull will pull at the fabric causing it to become fuzzy on the edges. Step 3: Next, cut a spiral strip of felt along the shape of the circle. Cut a longer spiral for a larger flower, and shorter spiral for a smaller flower. If you want a flower with that has smooth edges, cut your spiral with smooth curved lines. If you are trying to achieve a flower with a rounded petal-like pattern, cut your spiral with scalloped edges.Step 2: Step 3: Begin to wrap the felt flat under itself in a circular motion. The tighter you pull the more raised look you will achieve. Letting it lay a little looser will result in a flatter look. When the piece is fully wrapped, apply a very small dot of hot glue to keep it from unraveling and press the two pieces of felt together for a few seconds. This completes the simple spiral flower design.
Four-Piece Flower Design
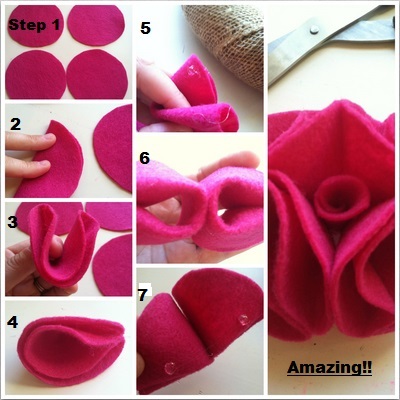
Step 1: Start by cutting four circles of felt exactly the same size. It may be helpful to use a cup to trace a perfect circle if you aren’t feeling very confident you could pull it off free hand! Step 2: With one piece at a time, start folding the pieces in half. Then, fold in half again and use a small dot of glue to seal the two free corners together. Repeat this with the other three circles. Step 3: Begin gluing the four separate pieces together. Starting with two, glue along the rounded edges opposite where you glued them the first time. Last, glue the sides of each pieces together. Be sure to keep all the rounded sides going the same way to achieve a neater look. Use your fingers to separate the pieces that are curled up inside each other to help the flowers look full.


Share Your Thoughts: